
Last updated October 30, 2026
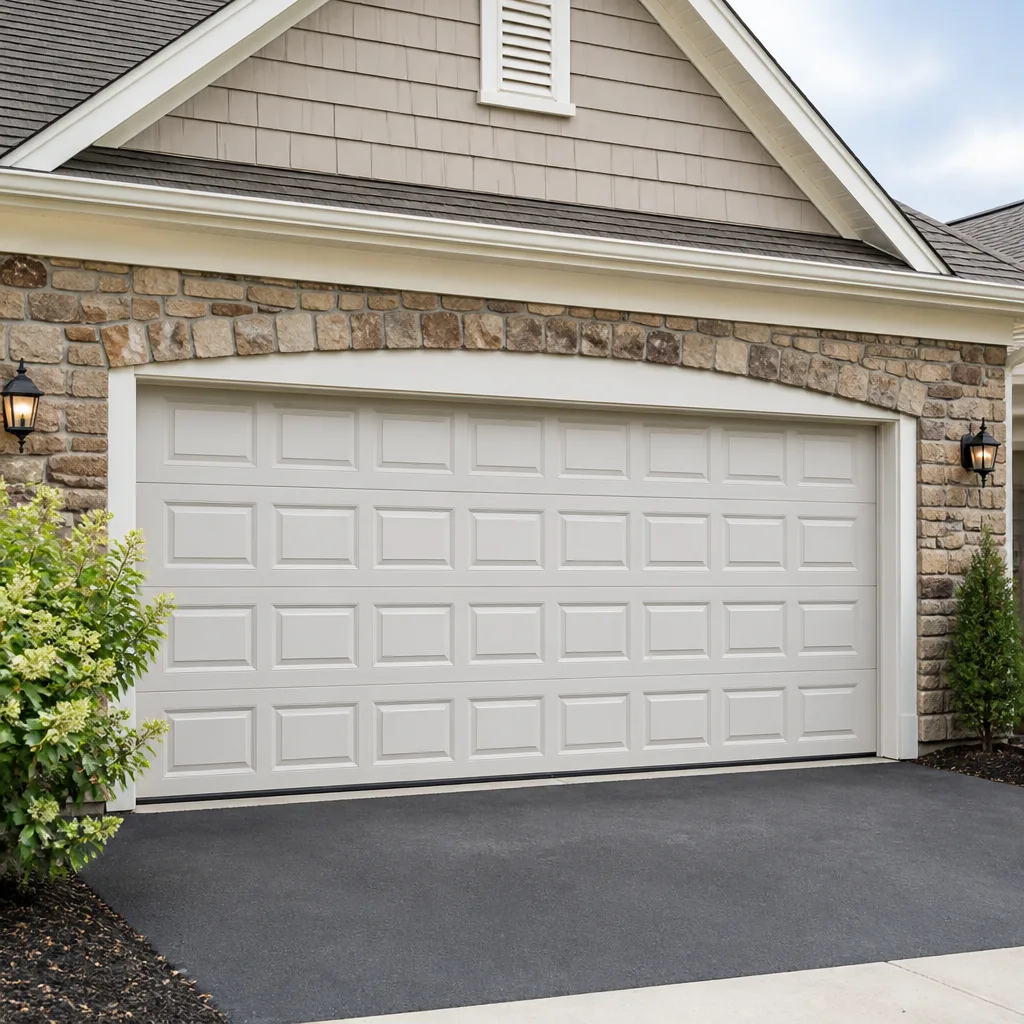 Raised-panel steel
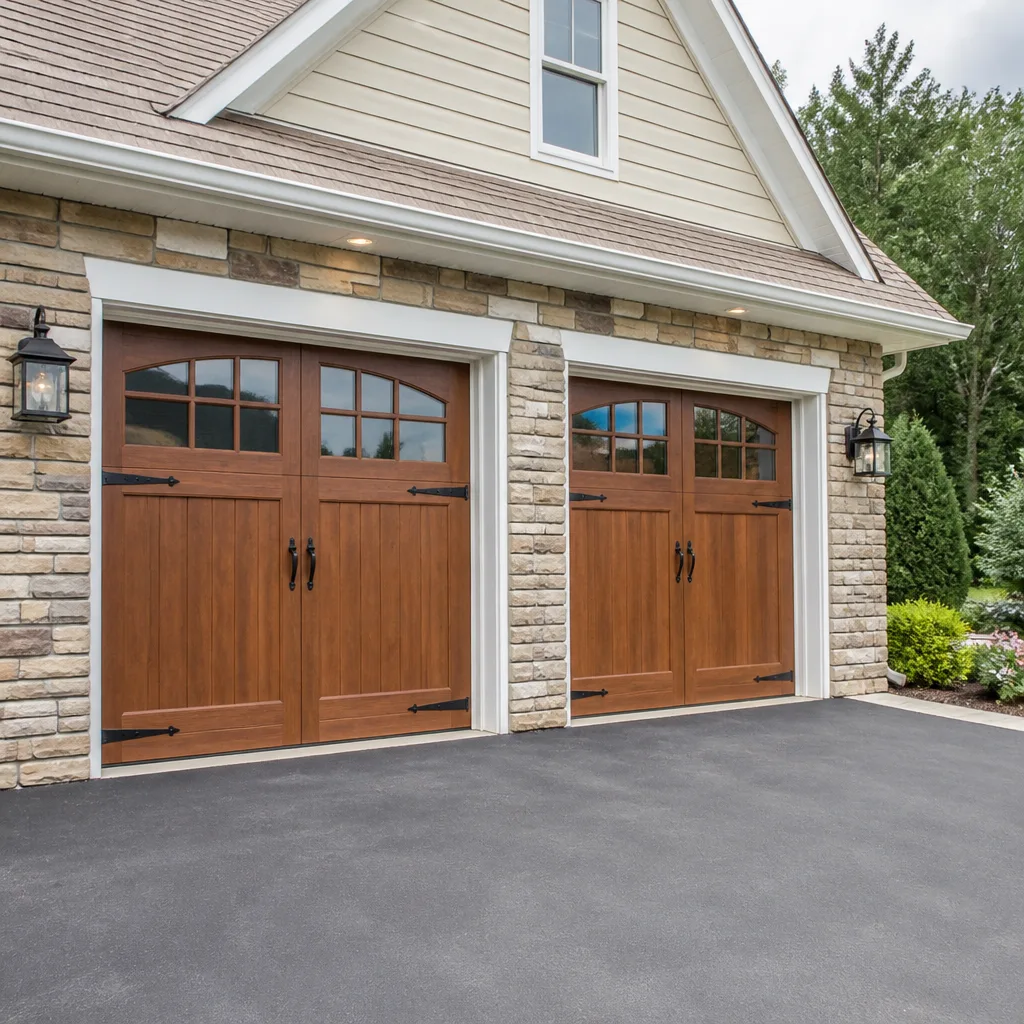 Carriage house
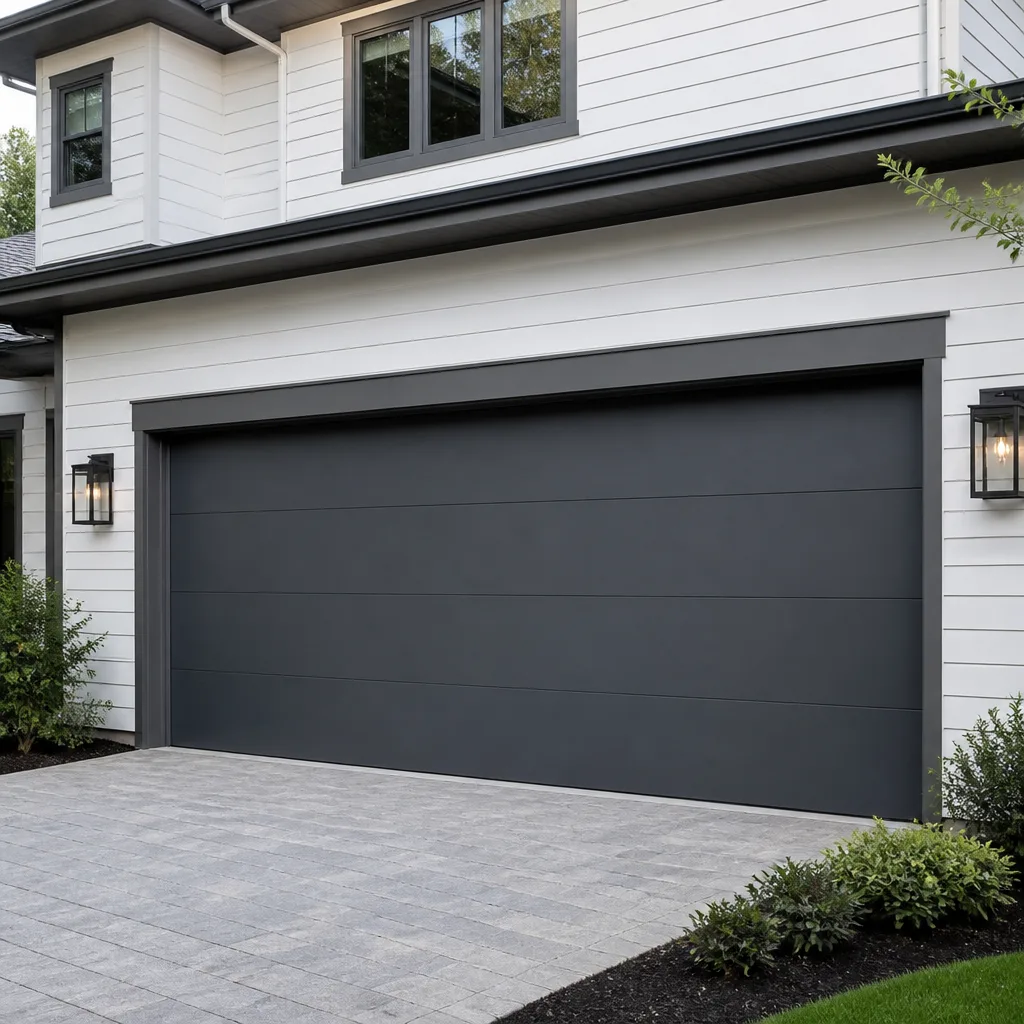 Modern flush
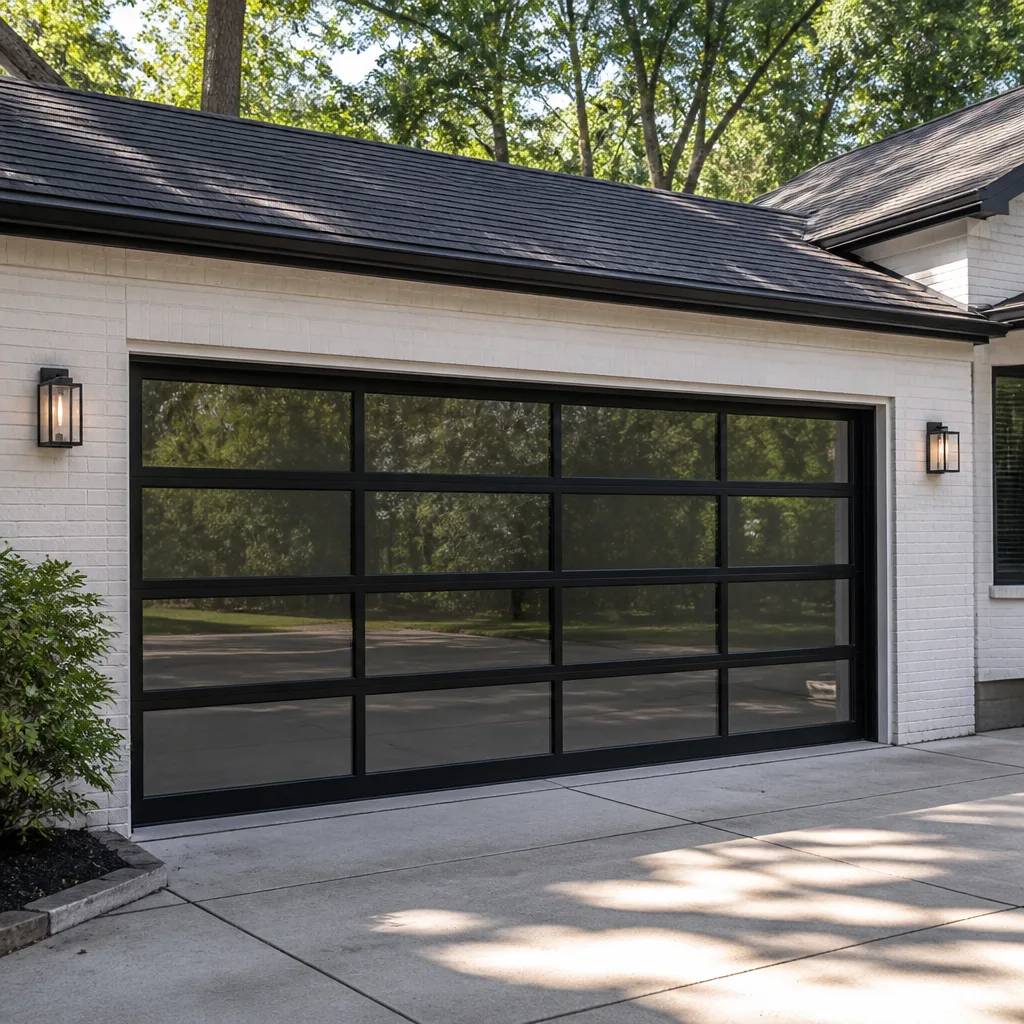 Full-view glass
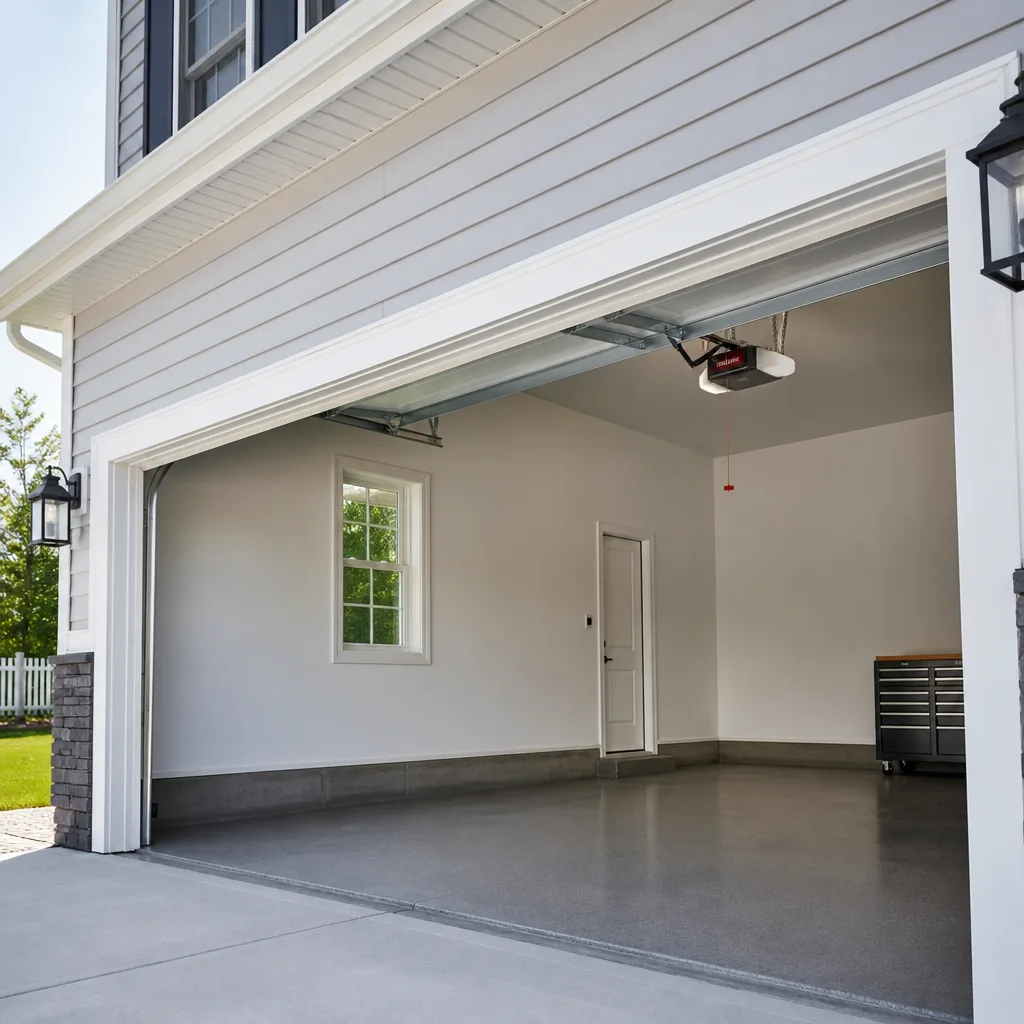 LiftMaster openers
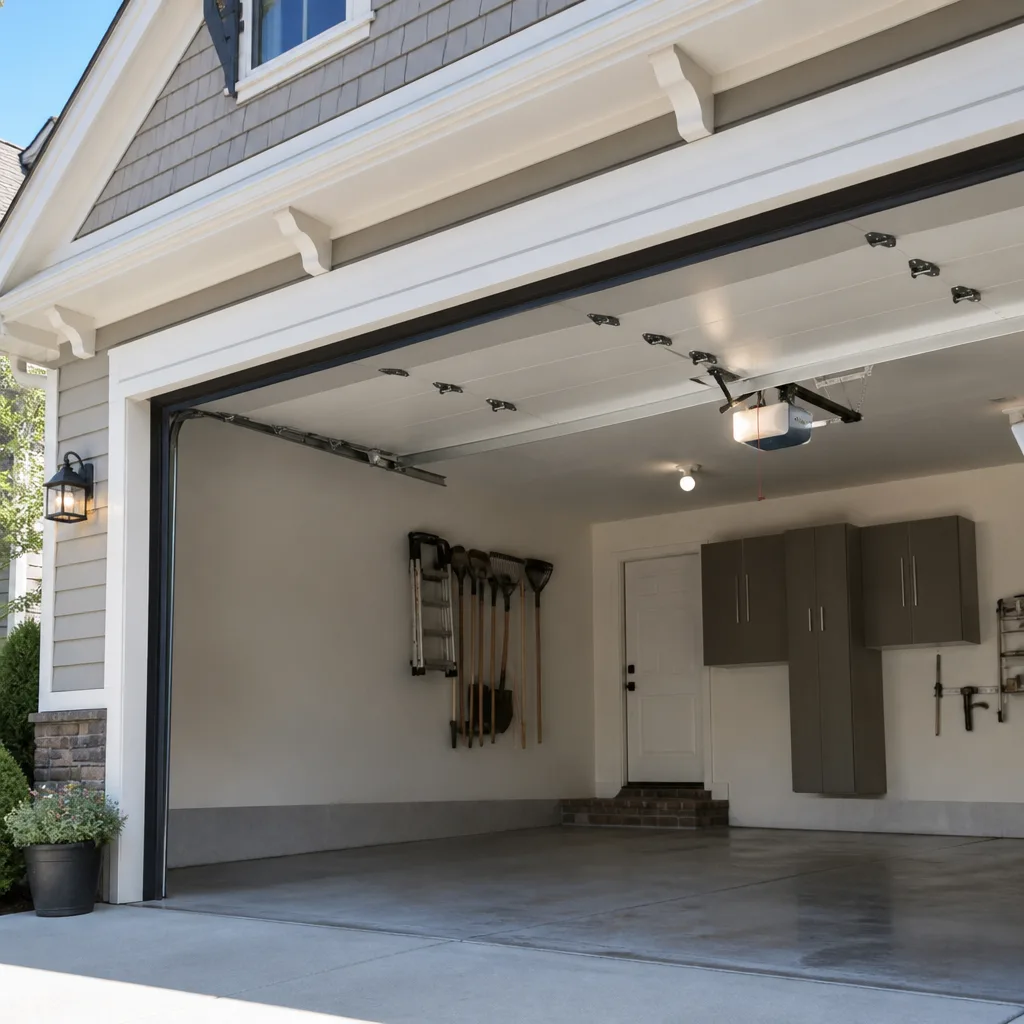 Chamberlain openers
Full 25-point door and opener safety check with every visit - springs, cables, rollers, tracks, and your LiftMaster or Chamberlain opener included
You get a price before we start. It does not change when the truck arrives.
Get your free estimateThe Complete Garage Door Repair Guide for Santa Ana Homeowners
A garage door has over 300 moving parts, but roughly 80% of all repair calls in Santa Ana trace back to just four failure points: torsion springs, lift cables, track misalignment, and opener gear wear. Three of those four are visible from your driveway if you know what to look for. This guide maps every common symptom back to its mechanical root cause so you stop paying for repeat repairs in Santa Ana and start fixing problems the first time. By the time you finish reading, you’ll know more about your door than most technicians who show up at your house.
Quick Answer
Garage door repair in Santa Ana typically costs between $95 and $450 depending on the component that failed, with torsion spring replacement being the most common and most expensive single repair. Most failures can be diagnosed without special tools by checking four specific points: the balance of the door when disconnected from the opener, the condition of the springs, the straightness of the tracks, and the alignment of the photo eye sensors. If your door is making grinding noises, shaking during operation, or refusing to stay up, the fix is usually one of these four systems, not a mystery gremlin.
Styles & brands we work with
Table of Contents
- The Four Failure Points Behind 80% of Santa Ana Repair Calls
- How Santa Ana’s Coastal-Adjacent Climate Accelerates Spring Fatigue
- The System Map: How Component Failure Cascades Through Your Door
- Symptom-to-Root-Cause Diagnosis: What Your Door Is Telling You
- DIY Fix vs. Professional Repair: A Clear Safety Threshold
- Why Repeat Repair Calls Happen: The Wrong Part Spec Problem
- Brand-Agnostic Parts Glossary: Speak the Language, Avoid the Upsell
- Common Mistakes to Avoid
- When to Call a Professional
- Frequently Asked Questions
The Four Failure Points Behind 80% of Santa Ana Repair Calls
In more than a decade of door work across Santa Ana, from the tree-lined streets of Floral Park to the tract homes of the Bristol Corridor, we’ve found that most service calls come down to the same four components failing in the same predictable order. Knowing which one you’re dealing with tells you whether you’re looking at a $100 fix or a $400 fix before anyone arrives with a truck.
1. Torsion Springs: The Muscle That Gives Out First
Your door weighs between 130 and 400 pounds depending on panel material and size. The torsion springs above the door opening do the actual lifting, not the opener motor. These springs are rated for a specific number of cycles: one cycle equals one full open-and-close. Most builder-grade springs installed in Santa Ana homes are rated for 10,000 cycles, which translates to roughly seven to ten years of normal use. When a spring snaps, you’ll hear a loud bang from the garage that sounds like a car backfiring. The door becomes almost dead-weight heavy or won’t lift at all. This is the single most common repair call we field in Santa Ana, and it’s also the repair where we see the most repeat failures from incorrect part matching.
2. Lift Cables: What Holds the Door Up When the Spring Does Its Job
Lift cables work with the springs to transfer lifting force to the bottom corners of the door. Made from braided aircraft-grade steel, they’re typically about 1/8 inch thick and run through pulleys at the header and brackets at the bottom corners. Cables fray, rust, or snap when the door operates with a broken spring or when tension is unbalanced. A frayed cable is easy to spot: look for loose wire strands near the bottom bracket. A snapped cable usually leaves a door cocked at an angle with one side higher than the other. Running the door on a broken cable is how you end up with a bent track or a cracked panel, which turns a $150 cable repair into a $700-plus door replacement.
3. Track and Roller Misalignment: The Noise You’ve Been Ignoring
Steel tracks guide the door’s roller wheels along a precise path from floor to ceiling. In Santa Ana, we see track issues come from three sources: house settling, which is common in older neighborhoods like Washington Square and Park Santiago where slab foundations shift seasonally; impact damage from a car bumping a partially open door; and hardened grease buildup that makes rollers skate roughly. Misaligned tracks produce a grinding or scraping sound, visible gaps between the roller and the track, or a door that binds and stalls halfway through its travel. Left untreated, the door falls off the track entirely, which usually bends the track beyond repair and can cause panels to warp.
4. Opener Gear and Drive Wear: The Motor Isn’t the Problem, the Gear Is
When homeowners say “the opener is broken,” what they usually mean is the opener’s internal gear train or drive mechanism has stripped. On chain and belt drive units, a plastic gear inside the motor housing is designed as a sacrificial part: it strips before the motor burns out. This gear gets brittle with age and heat exposure, and Santa Ana garages that aren’t insulated routinely hit 120 degrees in summer, accelerating the plastic’s degradation. Symptoms include the motor running but the chain not moving, or a metallic grinding from the opener head itself. On screw-drive units, it’s the carriage assembly that wears. Either way, the fix is a replacement gear kit, not a new motor, and definitely not a new opener unless the unit is older than about 15 years.
Understanding these four systems means you walk into any repair conversation already knowing the vocabulary and the rough cost. That alone changes the dynamic when a technician starts quoting prices. And it connects directly to our main service posture: we fix what you have, not what’s easiest to sell you. If you want the full diagnostic breakdown specific to your door, start with our main Garage Door Repair in Santa Ana page.
How Santa Ana’s Coastal-Adjacent Climate Accelerates Spring Fatigue
Santa Ana sits in a weird climate pocket. You’re far enough inland that the marine layer burns off by mid-morning, but close enough to the coast that evening humidity rolls back in. That daily cycle of dry heat followed by moisture-laden air does two things to steel springs: it creates condensation on cold spring surfaces in the morning, and it bakes that moisture off in the afternoon. The result is a micro-cycling of oxidation and thermal stress that inland cities like Riverside or San Bernardino don’t experience to the same degree.
Why does this matter? Spring steel fails by fatigue, and fatigue is cumulative. Every open-and-close cycle flexes the spring wire at a microscopic level. When oxidation attacks the surface of the wire, it creates stress concentration points where fatigue cracks start earlier than they would on clean steel. We’ve pulled springs out of Santa Ana homes near the 55 Corridor that looked 12 years old on corrosion wear while having only seven years of actual use. The same spring in a hotter, drier climate might show less surface decay at the same age.
What this means practically: inspection intervals in Santa Ana should be tighter than what national garage door content recommends. We tell our customers near the coast side of town, places like West Floral Park and French Park, to have springs and cables visually inspected annually. Homes further inland toward South Coast Metro can go 18 to 24 months between inspections. A visual inspection takes five minutes and catches red rust blooms on the spring coils, fraying at cable ends, and wear marks on the track radius before any of them become a failure.
There’s also a heat factor specific to the opener. Garage interiors in Santa Ana routinely exceed 110 degrees during August afternoons. Opener motors have thermal overload protection, but the circuit board logic and battery backup systems (if equipped) are less tolerant. We see a spike in opener logic board failures every August and September in Santa Ana, almost always in doors with western or southern exposure where the exterior stucco retains heat into the evening. If your opener is over ten years old and mounted on a wall that gets full afternoon sun, consider having the unit’s internal components inspected before the hot months.
The System Map: How Component Failure Cascades Through Your Door
Garage doors fail systemically, not in isolation. When one component stops doing its job, the load it carried doesn’t disappear: it transfers to the next component in line, which was never designed to handle it. Understanding this cascade is the most important thing you can learn from this guide, because it explains why a $50 part left unrepaired becomes a $500 problem in a month.
Here’s the cascade in order of most common starting points:
- Broken spring. When a torsion spring snaps, the door’s full dead weight transfers to whatever else is connected. The opener motor and gear now try to lift 300 pounds of door instead of the 30 pounds of effective weight when springs are healthy. The plastic gear strips inside the opener. The cable slackens on the broken side. The door hangs unbalanced.
- Stripped opener gear. Running a stripped gear produces metal and plastic shavings inside the motor housing. The chain or belt loses consistent tension. The door jerks and stalls mid-travel, which causes uneven wear on both track rails.
- Uneven track wear. A door that jerks and binds applies asymmetric force to the vertical and horizontal tracks. Lag bolts loosen. Brackets bend outward. The track gap widens at the radius curve where stress is highest.
- Loose track bolts. Once tracks are loose, rollers can pop out. A single popped roller allows the door to torque sideways, which usually bends the center hinge bracket on that side. The panel itself then cracks around the hinge mount.
- Cracked panel. A cracked panel compromises the structural integrity of the whole door section. The bottom section, which carries the most weight and sits closest to ground moisture in Santa Ana’s morning humidity, is almost always the first to fail. At this point, you’re looking at panel replacement or full door replacement, not a simple repair.
We see this exact cascade play out weekly in Santa Ana. The prevention step is almost always the same: address the root cause when it’s cheap and contained. A broken spring is a $250-ish repair. A broken spring plus a stripped opener gear plus a damaged track plus a cracked panel is a $1,200-plus replacement. If you hear a loud snap from the garage, stop using the door immediately. Don’t run it “one more time” to get the car out. That one more time is where the cascade accelerates.
Our technicians diagnose the whole system on every service call, not just the part that’s currently broken. That’s the difference between a repair that lasts and a repair that’s scheduled again in 90 days. See how our door system repair approach works at the Garage Door Repair in Santa Ana service page.
Symptom-to-Root-Cause Diagnosis: What Your Door Is Telling You
Most Santa Ana homeowners describe their door problem by the symptom: “it’s making a weird noise” or “it won’t go up.” But symptoms are just the surface layer. Each symptom maps to one or two underlying root causes. Here’s the cheat sheet we use when a customer calls, organized by what you’re hearing, seeing, or feeling.
Symptom: Loud bang or gunshot sound from the garage
- Root cause: Torsion spring snapped.
- Action: Disconnect the opener by pulling the red emergency release handle. Do not attempt to lift the door manually: the remaining spring may still be under tension on one side. Call for professional spring replacement.
Symptom: Grinding or metal-on-metal scraping during operation
- Root cause: Rollers worn flat or bearing failure in roller wheels; track misalignment causing rollers to ride at an angle.
- Action: Inspect rollers visually. If they’re original to a door that’s more than 8 years old, they’re probably due for replacement. Track alignment may need adjustment with a level and socket driver.
Symptom: Door shakes, shimmies, or vibrates violently while moving
- Root cause: Unbalanced door (one spring providing more tension than the other) or loose hardware at the hinges and track brackets.
- Action: Tighten all visible bolt connections with a socket wrench. If shaking persists, the spring tension is uneven and requires a professional tension adjustment.
Symptom: Door starts to open, then reverses back down
- Root cause: Photo eye sensors misaligned or obstructed, or the opener’s force sensitivity setting is too low for the current spring tension.
- Action: Check sensor alignment first: the small LED on each sensor should glow steady when aligned. Clean the lenses. If sensors are clean and aligned, the issue is likely force setting or an obstruction at floor level.
Symptom: Door jerks and stalls at the same point every cycle
- Root cause: Bent track section at the radius curve, or a damaged roller binding on a flat spot.
- Action: Watch the door at the stall point with a flashlight. If a specific roller catches, mark it and have it replaced. If the track is bent, a professional needs to assess whether it can be bent back or requires a new section.
Symptom: Door drifts down slowly when open
- Root cause: Spring fatigue or failing cable drum on one side. Springs lose tension gradually as they approach end-of-life, which is why this happens slowly over weeks before total failure.
- Action: Test the door balance now: disconnect from opener, lift door halfway, and release. A healthy door stays put. A door that drops is telling you the springs are failing. Schedule a spring replacement before the snap.
Each of these symptoms is a page in the diagnostic manual our techs use on every Santa Ana service call. The faster you can describe the symptom, the faster the repair direction becomes obvious. And for a full walkthrough of the most common repair scenarios specific to this city, our Garage Door Repair in Santa Ana page covers the repair process step by step.
DIY Fix vs. Professional Repair: A Clear Safety Threshold
There’s a line in garage door work that’s not just about skill: it’s about stored energy and physics. Garage door springs and cables are under enough tension to send a steel bracket through drywall or break bone. In Santa Ana garages with tightly packed storage or limited clearance, an uncontrolled spring release is genuinely dangerous. Here’s the threshold we give customers, organized by what you can safely do yourself and what you shouldn’t touch.
Safe DIY: These Are Adjustment and Maintenance Tasks
- Photo eye sensor alignment: Loosen the wing nut on the sensor bracket, swivel the sensor until the LED turns steady, retighten. No tension risk.
- Lubricating rollers and hinges: Use a white lithium or silicone spray on metal rollers (nylon rollers need no lube) and hinge pivot points. Disconnect opener first, and you’re never working under tension.
- Tightening visible bolts: All track brackets, hinge bolts, and opener rail connections that are accessible with a socket wrench. Tighten but don’t overtighten, which can strip the lag holes in wood door frames.
- Cleaning the tracks: Wipe debris and old grease from inside the track channel. Don’t use degreaser on the track itself; residue attracts new grit.
- Replacing remote batteries and reprogramming remotes: All wireless pad and remote setup is safe for homeowners. Manufacturer instructions vary by brand: LiftMaster and Genie units have different button sequences, so find your model number and follow the published manual.
Not Safe DIY: These Require Professional Training and Tools
- Torsion spring replacement or adjustment: These springs are wound to hold up to 400 pounds of lifting force. Releasing that energy improperly is how people lose fingers or worse. Never attempt to loosen or tighten the red winding cones yourself.
- Lift cable replacement: Cables run through the same tension system as springs. A cable that slips during manual adjustment becomes a high-speed steel whip.
- Track replacement or major realignment: Tracks are load-bearing when the door is moving. Improperly secured track sections can detach under door weight.
- Opener gear replacement on chain and belt drive units: The internal gear assembly sits under tension from the drive troika. Disassembling the motor housing without proper alignment tools means reassembling it out of tolerance, which strips the new gear immediately.
- Panel replacement on a tensioned door: Removing a panel changes the door’s weight distribution, which changes the spring requirement mid-repair. The safe procedure requires securing the remaining sections and recalculating spring tension.
The line in all of these is the same: if the component you’re touching is under spring tension or lifts the weight of the door, you need a trained professional with the right tools and training on your specific hardware. We work on eight major brands, LiftMaster, Chamberlain, Genie, Clopay included, so the tech who arrives already knows the tensioning spec on your specific door. That’s the difference between a first-visit fix and a guess.
Why Repeat Repair Calls Happen: The Wrong Part Spec Problem
Here’s a pattern we see in Santa Ana often enough to call it predictable: a homeowner calls a repair company, gets a new torsion spring installed, and eight months later the door loses balance again or a cable breaks. The natural conclusion is that the new spring failed. That’s almost never what happened. What happened is the wrong spring was installed the first time.
Torsion springs are not universal. A spring is specified by four measurements: wire diameter (usually .207 to .273 inches), inside diameter (1.75 or 2 inches for residential doors), overall length, and wind direction (left-hand or right-hand wound). A door that needs a .225 wire by 2-inch by 28-inch spring balanced with a specific tension setting. If a tech installs a .218 wire spring because that’s what’s on the truck, the door will work for a while, but the spring is delivering the wrong torque curve. The door is technically balanced on install day, but the spring’s cycle life is reduced, and the cable drums see uneven load, which causes premature cable wear.
We’ve seen this in Santa Ana neighborhoods across the board, from Riverview West to Delhi. The homeowner can’t tell the difference the day the repair is done, because the door opens and closes. But eight months later, a cable snaps or the spring fails short of its rated life, and the homeowner calls a different company who finds the mismatch.
This is why we’re brand-agnostic about parts. We stock and source springs, cables, rollers, and opener gears that match the manufacturer specifications for each brand we service: LiftMaster, Chamberlain, Genie, Clopay, and others including Amarr, Wayne Dalton, Craftsman, and Raynor. The truck carries proper spec parts for the common door weights in Santa Ana housing stock, which means we install the right spring the first time, not whatever fits loosely enough to get the door moving. The parts glossary below gives you the vocabulary to ask the right question: “What spec spring are you installing?” If the answer is vague, get another quote.
For more on how our repair process works and what you can expect from a proper diagnostic, start at the Garage Door Repair in Santa Ana service page. And if your problem is specifically the opener rather than the door itself, we have a separate deep-dive for that at Garage Door Opener Repair in Santa Ana.
Brand-Agnostic Parts Glossary: Speak the Language, Avoid the Upsell
When a technician gives you a diagnosis, the words they choose are the difference between an honest assessment and a pitch. This glossary covers the primary components on any residential door, independent of whether it’s a Clopay panel door, an Amarr steel door, or a Wayne Dalton torsion system. Learn these terms and you’ll never sound like an easy upsell in a Santa Ana service call.
- Torsion spring: Coiled spring mounted on a steel shaft above the door opening. Stores mechanical energy from winding, releases it to lift the door. Rated in cycles and specified by wire diameter, inside diameter, length, and wind direction.
- Extension spring: Older-style springs mounted on either side of the horizontal track, stretching and contracting. Common on doors installed before the mid-1990s. Still in service in many older Santa Ana homes in Washington Square and the Mabury Park area.
- Lift cable: Braided steel cable connecting the bottom bracket of the door to the cable drum at the spring assembly. Transfers spring torque into lifting force at the door’s lower corners.
- Cable drum: Grooved pulley at the ends of the torsion shaft that winds and unwinds the lift cable as the door travels. Groove pattern is matched to cable length and door weight.
- Roller: Wheel bearing riding inside the track. Available in steel (original equipment on most builder doors) and nylon with sealed ball bearings (quieter, longer-lived, standard on newer Clopay and Amarr doors).
- Track: The vertical and horizontal steel channel that guides rollers through the door’s travel path. Two sections per side: vertical track at the jambs, horizontal track at the ceiling. Connected by a radius curve.
- Bottom bracket: Steel plate at the lower corners of the door where the lift cable connects. Under constant load. Common failure point on older doors in Santa Ana’s coastal-adjacent humidity zones.
- Center hinge bracket: The reinforced hinge in the center of each panel section that carries the most lateral stress when the door bends through the track radius. Factory-installed and load-rated per panel width.
- Photo eye sensor: Infrared transmitter and receiver pair mounted 6 inches off the floor on either side of the door opening. Prevents door closure when the beam is broken. LED status light indicates alignment.
- Travel limit switch: Adjustable switch inside the opener head that tells the motor when the door is fully open or fully closed. Misadjusted limits cause doors to reverse without a visible obstruction or grind at the end of travel.
- Force sensitivity adjustment: Setting on the opener that controls how much resistance the motor will push against before reversing. Too low and the door reverses mid-travel. Too high and a door that hits an obstruction keeps pushing, which is a safety issue.
- Gear kit: The replaceable gear and sprocket assembly inside chain and belt drive openers. Uses a plastic sacrificial gear designed to strip before the motor burns out. Replacement cost is roughly a quarter of a full opener replacement.
- Drive troika: The three-component drive system on openers: the motor gear, the chain or belt, and the carriage assembly that attaches the drive to the door arm. Wear on any one component affects the other two.
Knowing these terms transforms a service call. When a tech says “you need a new op,” ask which component failed. If the answer is the gear kit, you don’t need a new opener: you need a $150-ish gear replacement. When they say your door is “off balance,” ask what spring spec they plan to install. The precise answer is the proof you’re dealing with a specialist, not a generalist who changes parts on guesswork.
Common Mistakes to Avoid
- Running the door after a spring breaks. The cascade damage doesn’t happen until you run the door on a broken spring. Disconnect the opener and leave the door closed until a technician arrives.
- Greasing the track channel. Tracks are not a lubrication point. Grease in the track attracts grit, which grinds against rollers and wears them flat in months. Lubricate roller bearings and hinge pivots only.
- Attempting to “tighten up” a torsion spring yourself. The winding cone has a quarter-turn tension system only safe with the proper winding bars. Improvising with screwdrivers or pry bars is how emergency room visits happen.
- Ignoring a slightly unbalanced door. A door that drifts down when open is a door with failing springs. Addressing it now is a spring replacement. Ignoring it for three months is a spring replacement plus possibly an opener gear, a bent track, or a cracked panel.
- Buying the cheapest spring replacement quote in Santa Ana without asking the spec. A low quote often means a non-matched spring, a cut-rate Chinese import spring, or a tech who’s not carrying the right inventory and plans to “make it work.” Ask for the wire diameter, inside diameter, length, and wind direction of what’s being installed.
- Replacing an opener when the problem is the gear kit or photo eye alignment. Opener replacement is a $400 to $800 job. A gear kit is $150 to $200. Photo eye alignment is often a no-charge adjustment. Know the difference before you approve the work.
- Neglecting annual inspection in Santa Ana’s coastal humidity zone. The failure pattern here is faster than national averages. A five-minute visual inspection of springs, cables, and tracks once a year costs nothing and catches incipient failures before they strand your car in the driveway.
When to Call a Professional
If your door snapped its spring, the repair is not optional and not DIY. If the opener runs but the door doesn’t move, you’re looking at a gear kit replacement inside the opener head. If the door is off track, bent at the bottom corners, or showing panel cracks, the repair needs a level, a torque wrench, and spec-matched parts, not just enthusiasm. None of these are weekend projects. Santa Ana Garage Door Service offers free estimates in Santa Ana, and we work on the eight most common brands in local garages: LiftMaster, Chamberlain, Genie, Clopay, Amarr, Wayne Dalton, Craftsman, and Raynor. Your door is probably one of those. Call (855) 341-7810 and we’ll diagnose it over the phone in under ten minutes. If the door is what needs attention, our specialty starts with Garage Door Repair in Santa Ana. If the opener is the problem, see Garage Door Opener Repair in Santa Ana. And if the damage is beyond reasonable repair, Garage Door Installation in Santa Ana covers full replacement with honest pricing and no upsells.
Frequently Asked Questions
Expect to pay between $95 and $450 for most garage door repairs in Santa Ana. A roller replacement runs $95 to $150. A cable replacement is $150 to $225. A torsion spring replacement is $225 to $350 for a standard single door. Opener gear kit replacement is $150 to $225. Full door panel replacement is $400 to $800 depending on panel size and material. Call (855) 341-7810 for an exact quote before any work starts, and you’ll know the price before the truck rolls.
Most standard repairs can be completed the same day we arrive, and we arrive fast for door-down situations across Santa Ana. Spring replacements, cable replacements, roller swaps, and opener gear kits all go on the truck already stocked. The only exceptions are custom panel orders or non-standard door parts that require manufacturer shipping, which adds two to five business days.
No. Our pricing is quoted and agreed before any work starts, and it doesn’t change mid-job unless you approve additional work for a problem we couldn’t see from the initial phone diagnostic. If we open the door and find a second failing component, we show you what we found and quote the additional repair separately. You approve it before it’s done, or you decline and we finish only the original agreed work.
Yes. Our trucks carry spec-matched parts for the eight major brands we service in Santa Ana: LiftMaster, Chamberlain, Genie, Clopay, Amarr, Wayne Dalton, Craftsman, and Raynor. That includes multiple torsion spring sizes, cable drum sizes, roller types, opener gear kits, and photo eye sensor sets. For rare or non-standard doors we order factory parts, which adds shipping time but guarantees the correct spec.
A loud bang from the garage almost always means a torsion spring snapped. The sound is the spring bar releasing stored mechanical energy all at once. Don’t try to open the door with the opener or manually after a spring fails. Disconnect the opener using the red emergency release handle and call for spring replacement. It’s the most common repair call we handle in Santa Ana.
In Santa Ana’s climate, most standard torsion springs last 7 to 10 years with normal use. Homes in the coastal-adjacent zones, where morning humidity accelerates spring wire oxidation, may see failure at the earlier end of that range. If your springs are over 7 years old and you notice the door drifting down or hearing extra opener motor strain, schedule a spring inspection. Early replacement is cheaper than the cascade damage that follows a snap. Call (855) 341-7810 for a free estimate, and our team will inspect the springs and cables when we arrive.
The Bottom Line
Most garage door failures in Santa Ana trace to four specific systems: torsion springs, lift cables, track alignment, and opener gear wear. Each of these has visible or audible warning signs before total failure, and each can be inspected in minutes by a homeowner who knows what to look for. The cascade from a single ignored failure to a multi-component repair is avoidable if you act on the first symptom. When you call a repair company, ask the specification questions in this guide and listen for precise answers: that’s the tell of a brand-agnostic specialist versus a generalist with a truck. Whether it’s a Clopay panel or a LiftMaster drive system, our technicians have worked on it before. Garage doors are all we do, which means we do them right. For everything in this guide, from diagnosis to complete Garage Door Installation in Santa Ana, it all starts with one call to Santa Ana Garage Door Service home at (855) 341-7810.
Written by the team at Santa Ana Garage Door Service, serving Santa Ana since 2011.
See the difference
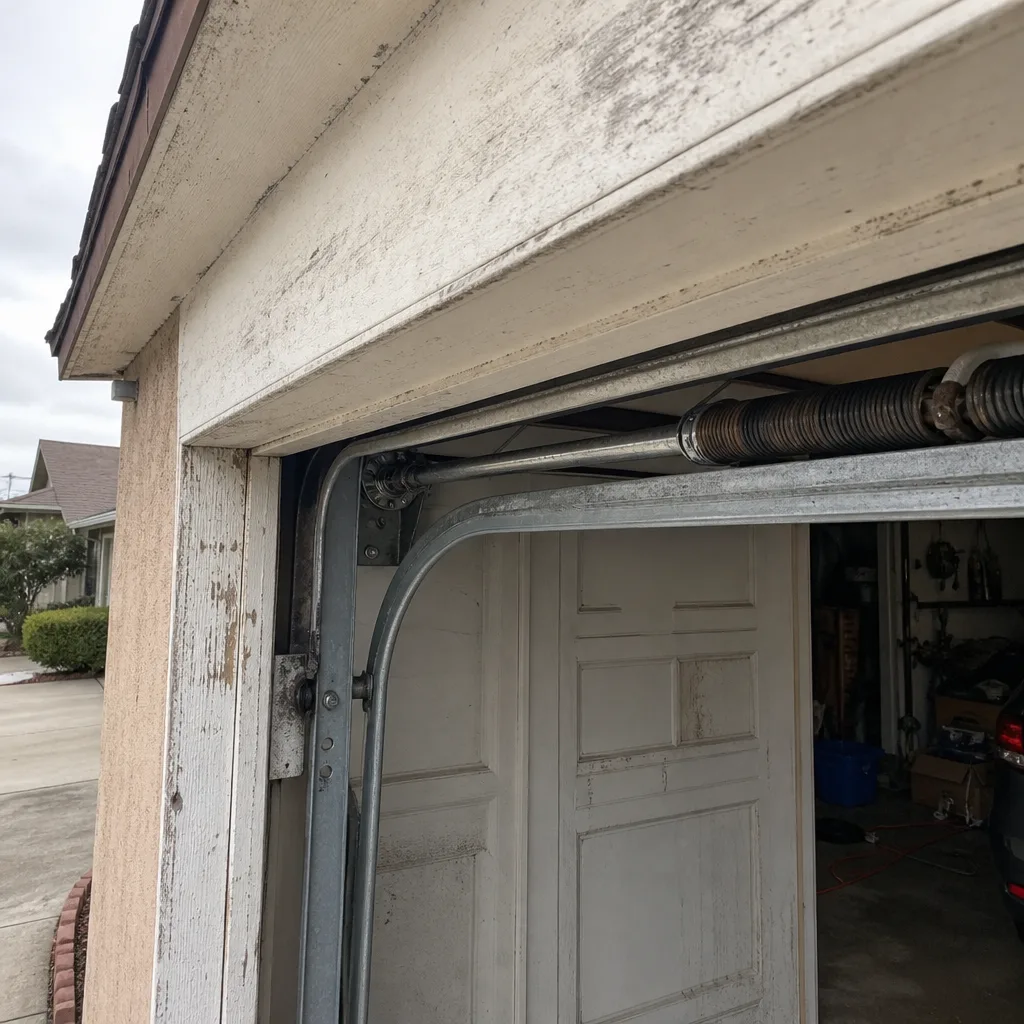 Before
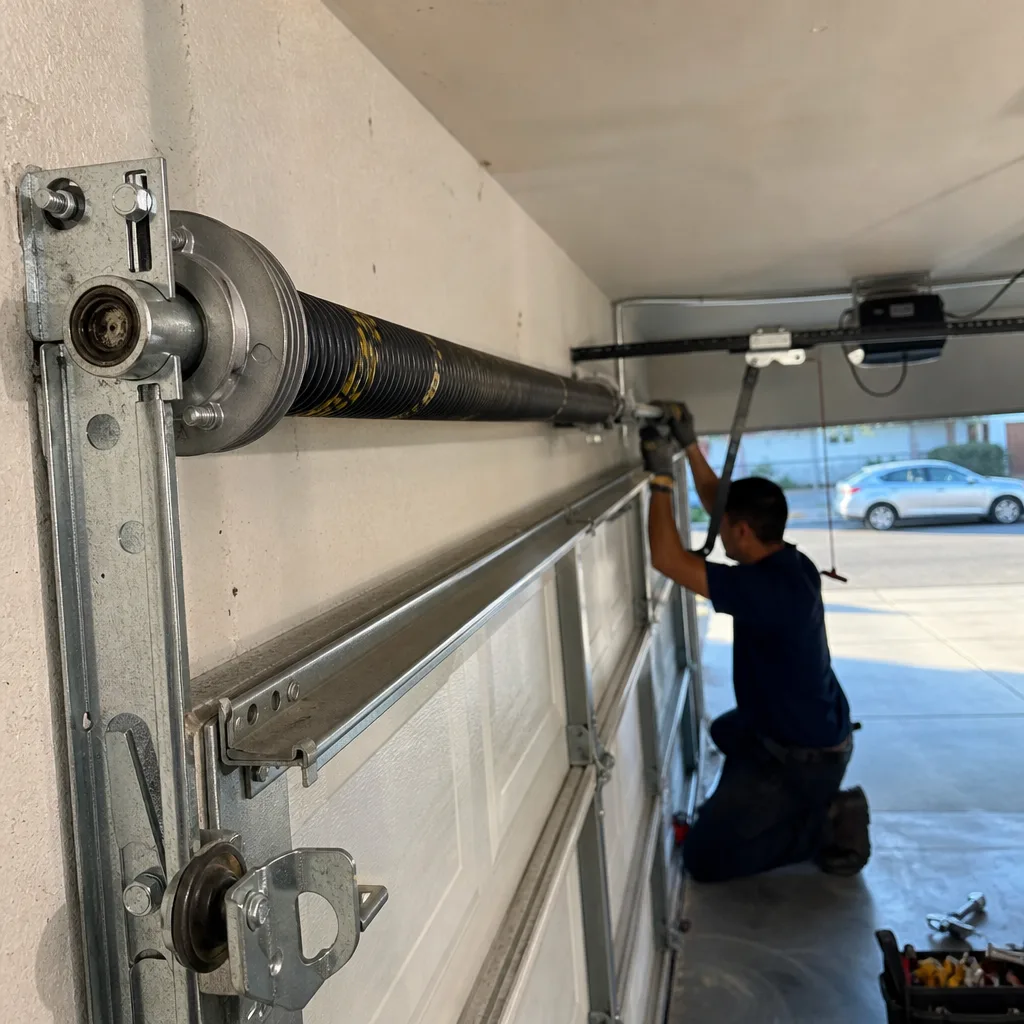 After
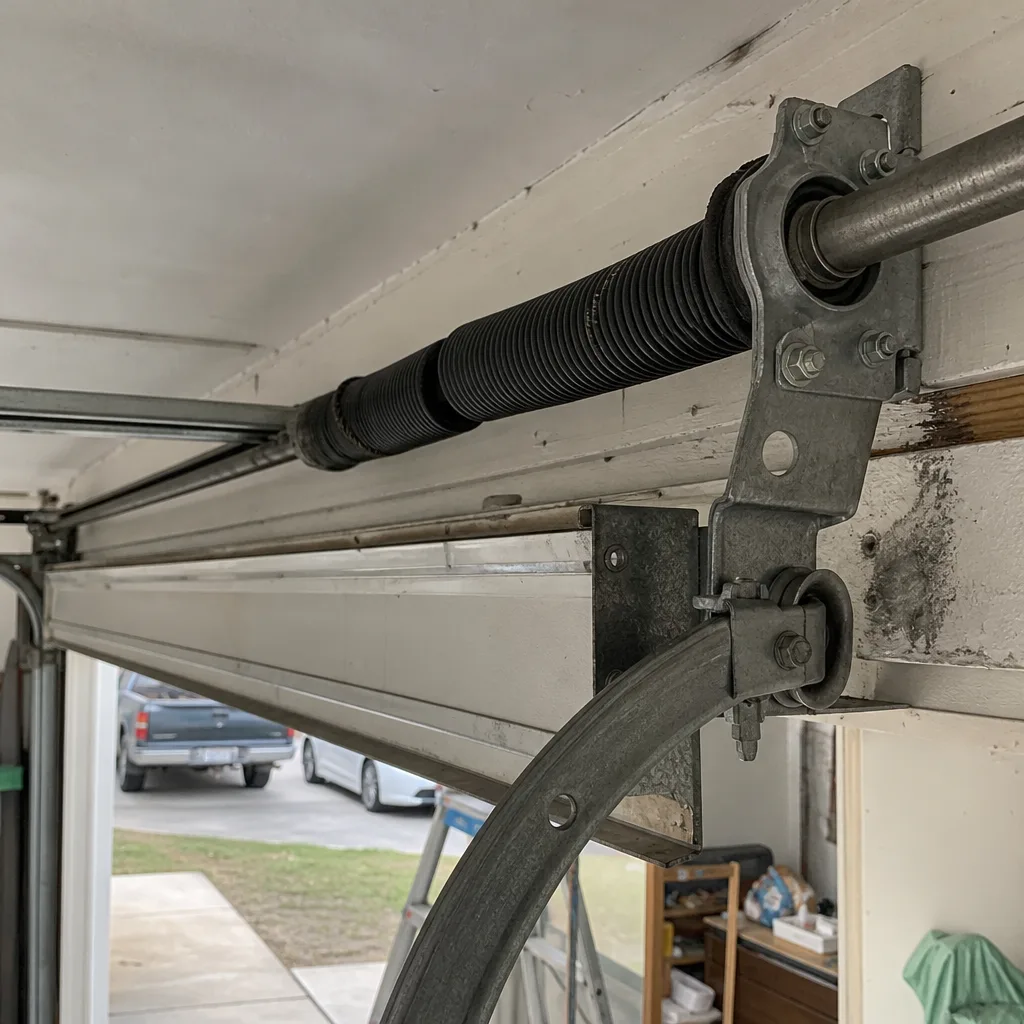 Before
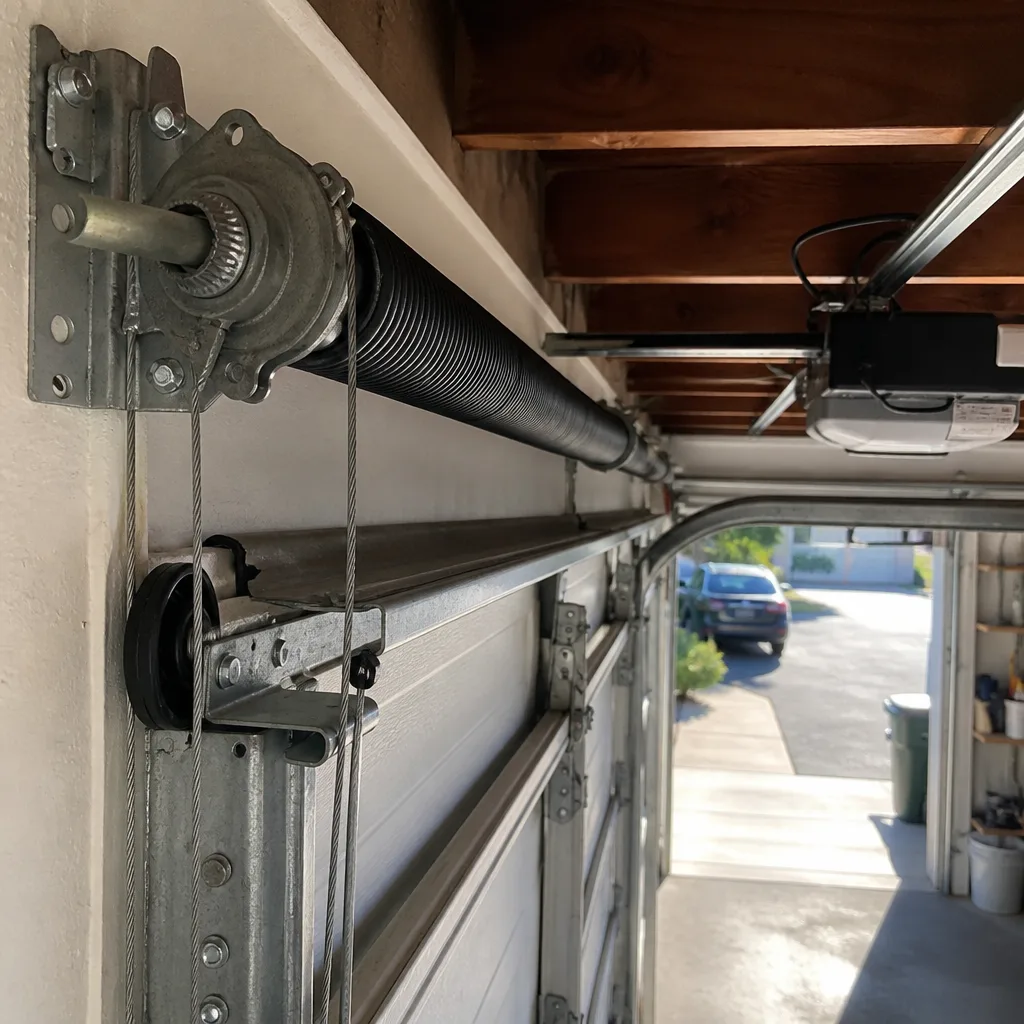 After
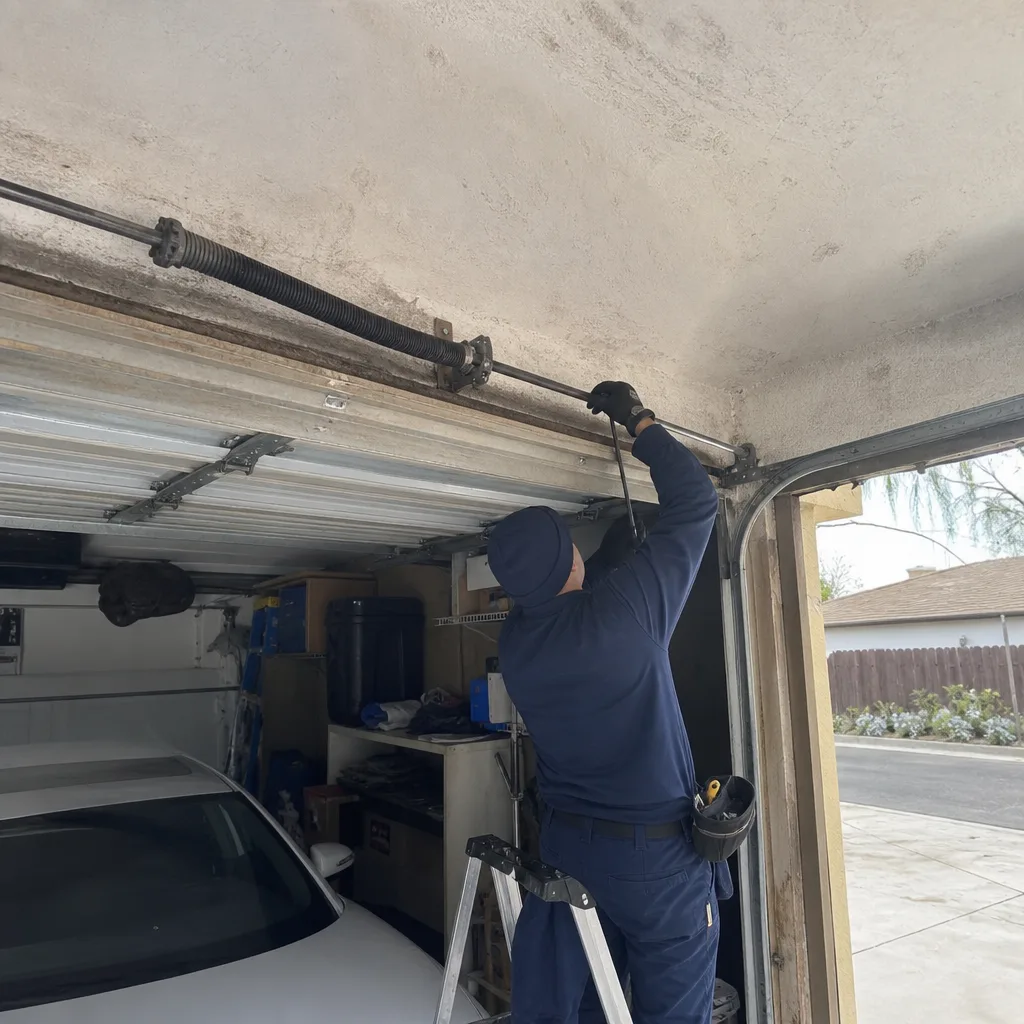 Before
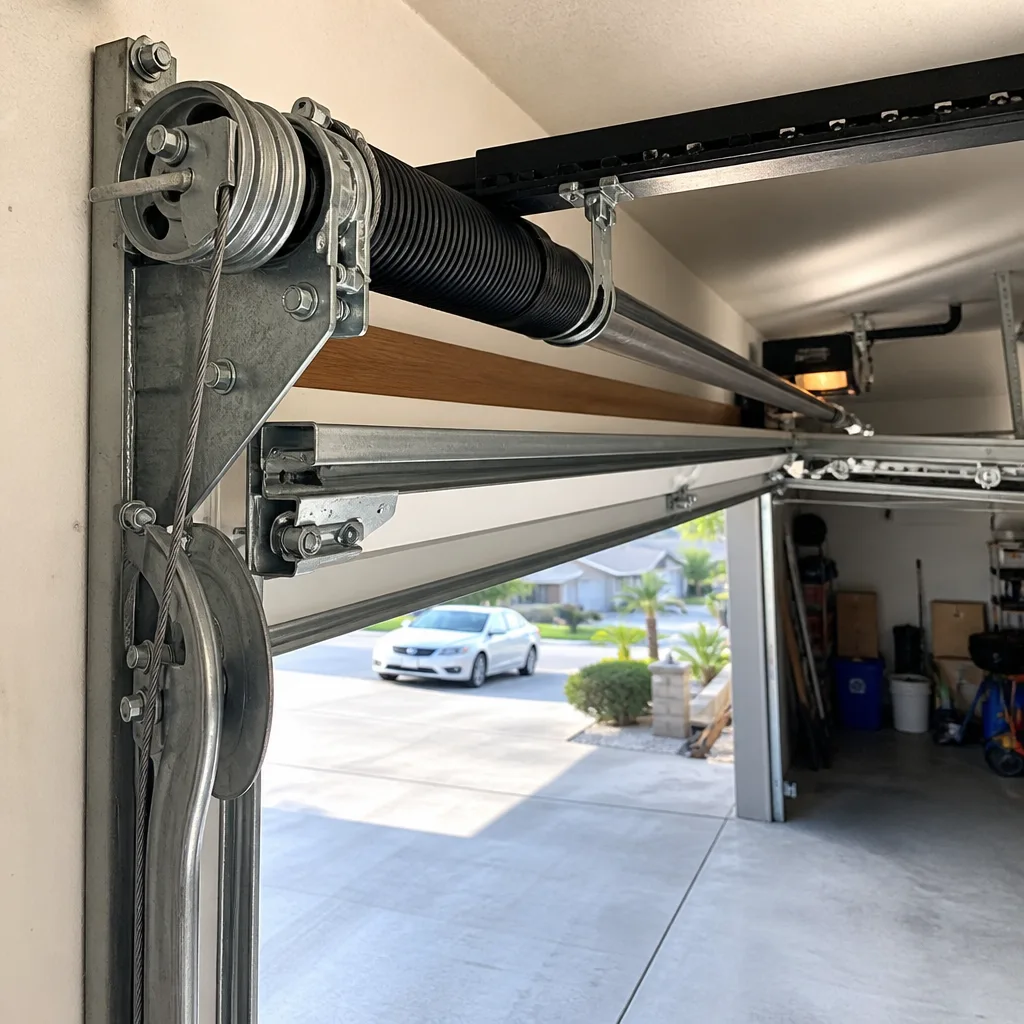 After