
Last updated October 31, 2026
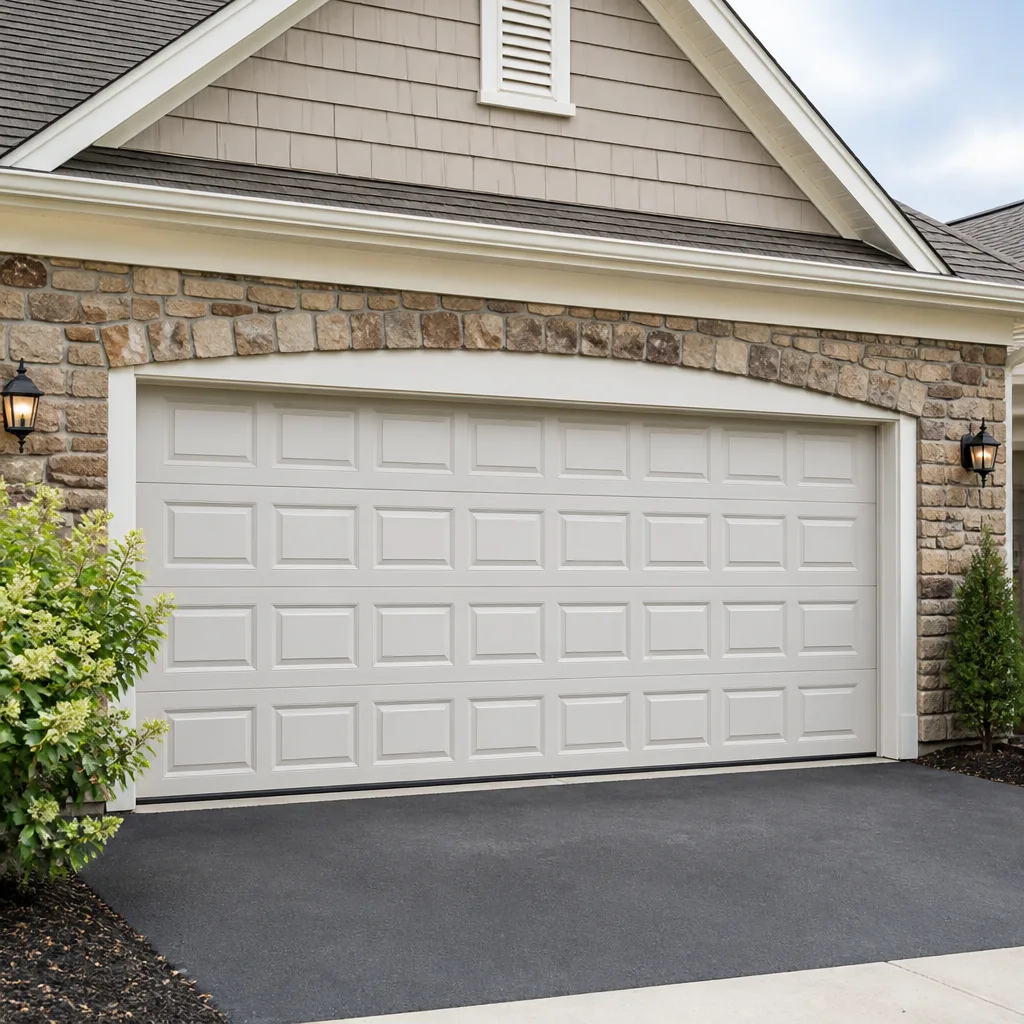 Raised-panel steel
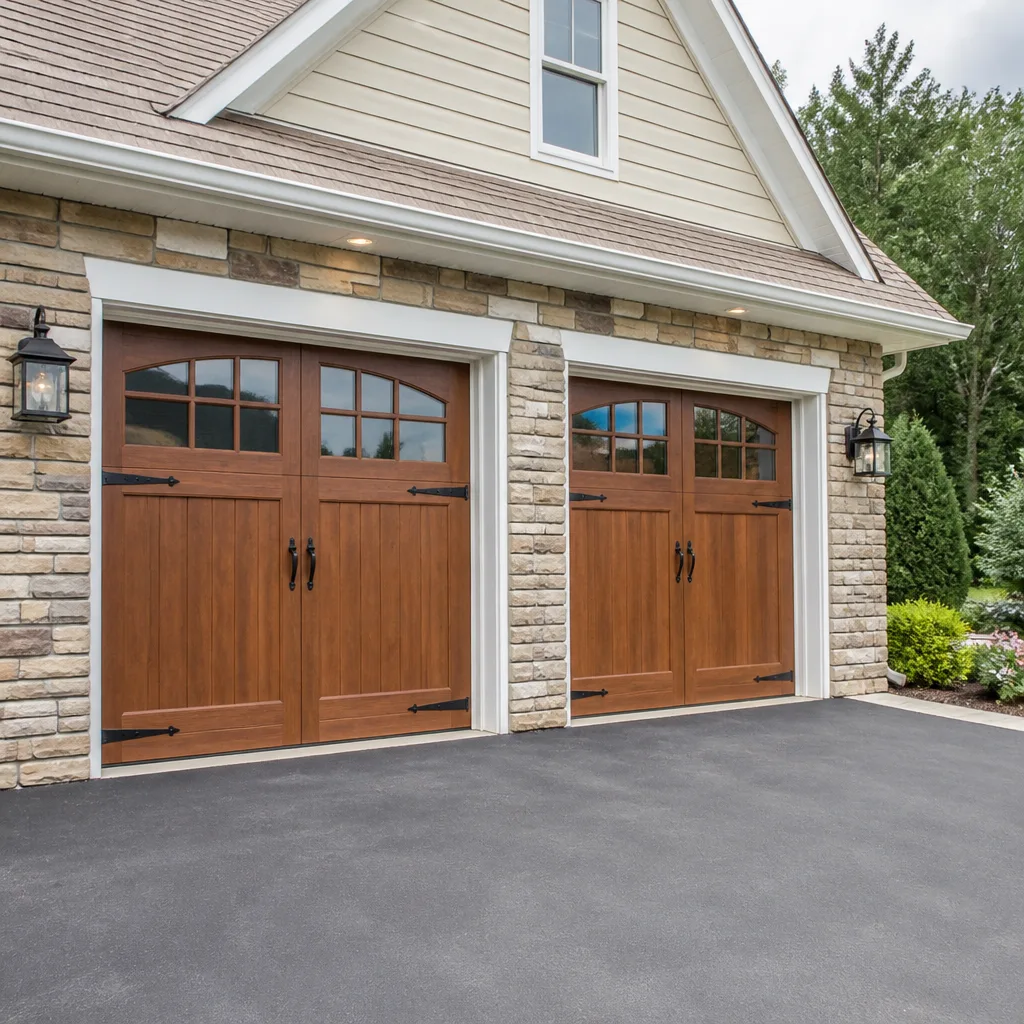 Carriage house
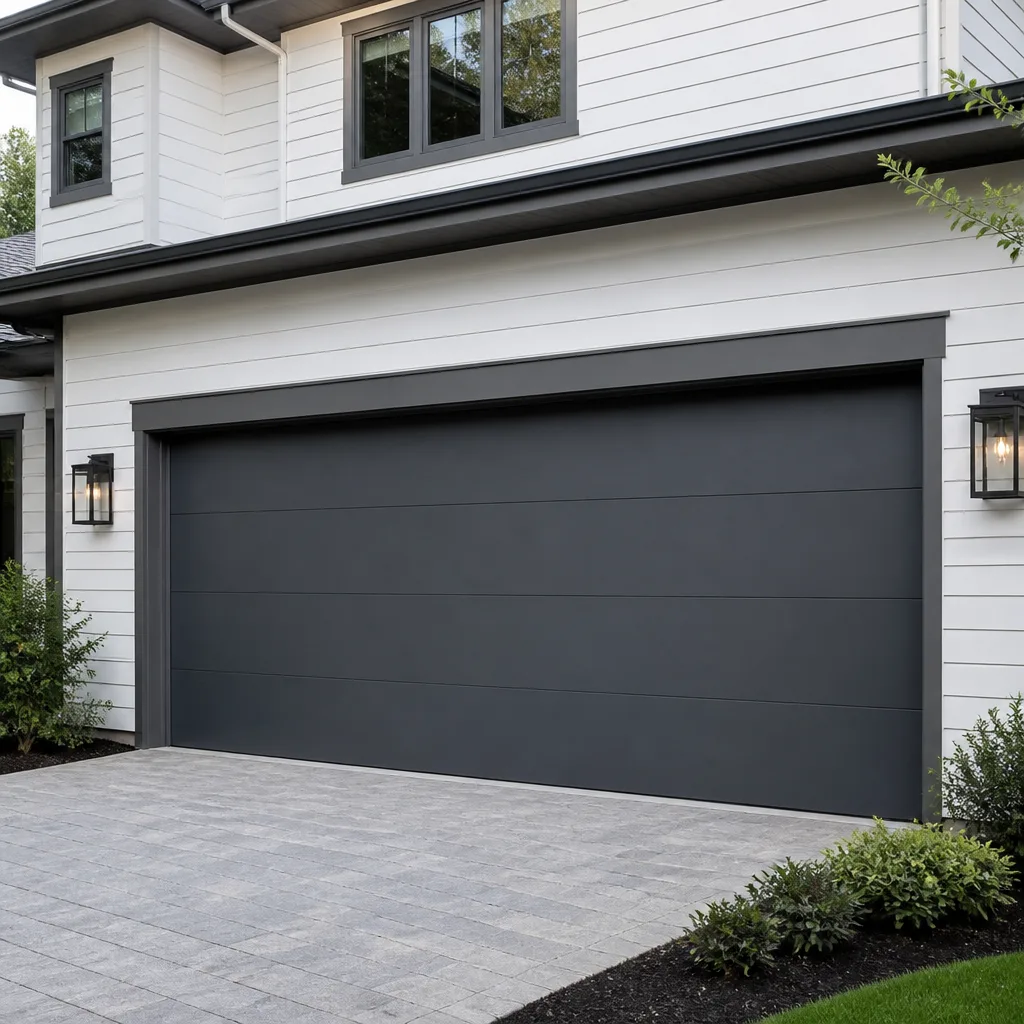 Modern flush
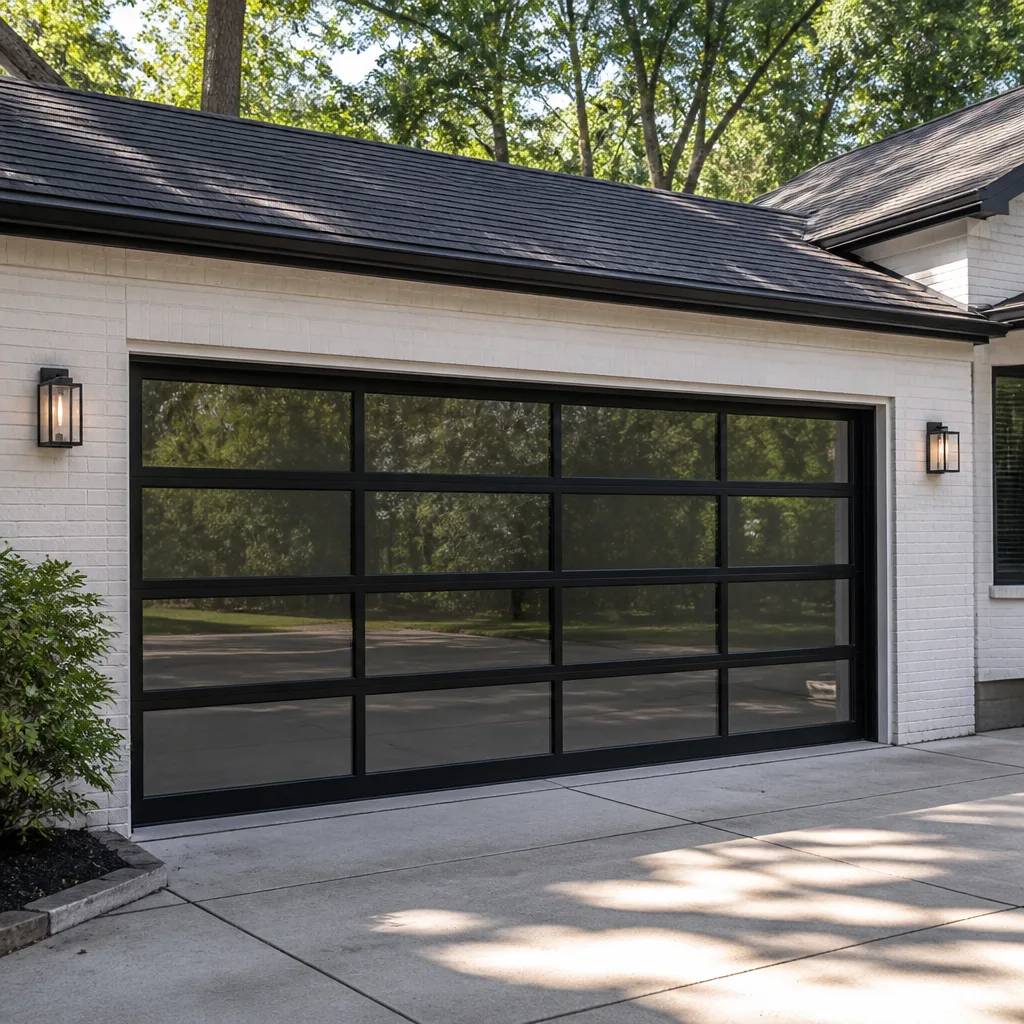 Full-view glass
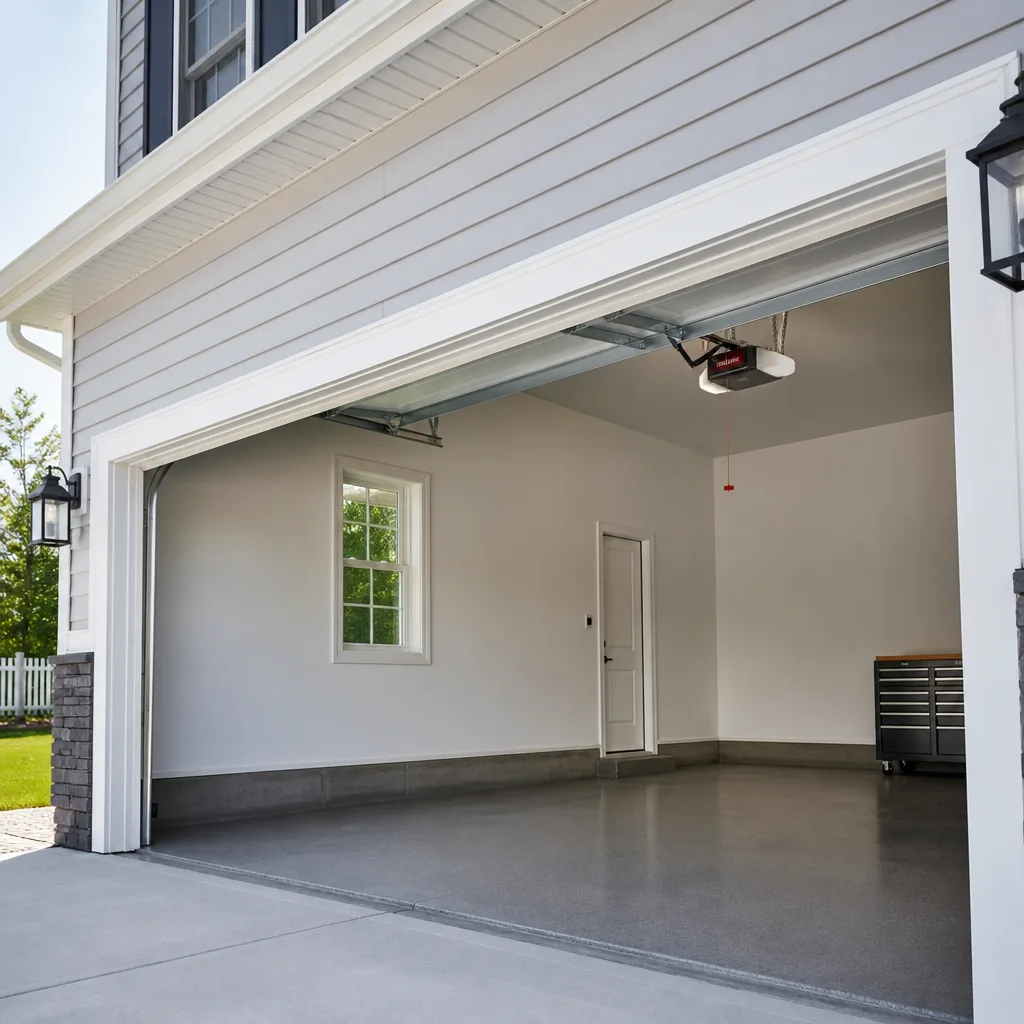 LiftMaster openers
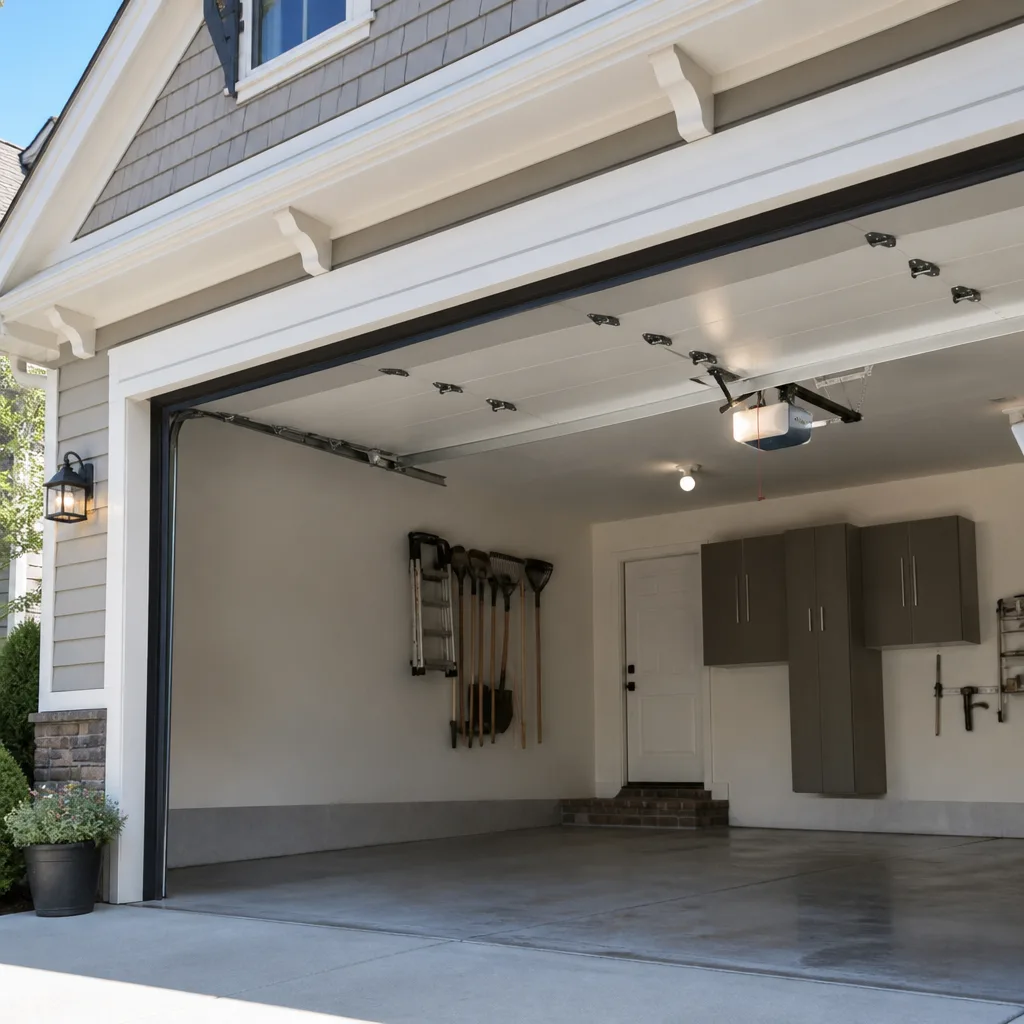 Chamberlain openers
Full 25-point door and opener safety check with every visit - springs, cables, rollers, tracks, and your LiftMaster or Chamberlain opener included
You get a price before we start. It does not change when the truck arrives.
Get your free estimateGarage Door Repair Maintenance Checklist for Santa Ana Homeowners
Lubricating your garage door hinges without first checking spring tension is like rotating tires on a car with a cracked axle – it feels productive and changes nothing about what’s about to fail. In Santa Ana, where salt-tinged air from the coast meets summer heat that bakes garage interiors past 110°F, your garage door cycles through more stress in one year than doors in inland climates face in three. This checklist is sequenced the way a technician actually walks a job: we start at the hardware that holds the door up, move through the moving parts that wear fastest, and finish at the opener. By the end, you’ll know which five-minute checks prevent the $800 breakdowns, which products actually damage your door despite being commonly recommended, and when a maintenance task has crossed into repair territory where DIY stops being smart.
Styles & brands we work with
Quick Answer
A proper garage door maintenance checklist for Santa Ana homeowners covers six inspection points in order: spring tension and balance, cable condition, roller and hinge wear, track alignment, lubrication of specific moving parts, and opener force settings. Run through this sequence twice a year – once in spring before summer heat hits, once in late fall before winter humidity settles in. Most checks take under twenty minutes total and require no special tools beyond a rag, a can of the right lubricant, and a step ladder.
Table of Contents
- Why the Inspection Sequence Matters
- Step 1: Spring Tension and the Halfway Lift Test
- Step 2: Cables, Brackets, and the Hardware You Can Actually See
- Step 3: Rollers and Hinges – The Wear Items Nobody Checks
- Step 4: Track Alignment and Santa Ana Corrosion Checkpoints
- Step 5: What to Lubricate, What to Skip, and the Two Products That Cause Damage
- Step 6: Opener Force Settings and Safety Reverse Test
- Common Mistakes to Avoid
- When to Call a Professional
- Frequently Asked Questions
- The Bottom Line
Why the Inspection Sequence Matters
Most maintenance checklists you find online are written by content writers who have never changed a torsion spring or pulled a frayed cable out of a drum. They list tasks in whatever order sounds logical on paper: lubricate this, tighten that, test the opener, done. But the order matters because the components are interdependent. The springs hold the weight of the door. The cables carry that load when the springs move. The rollers ride in the tracks because the whole assembly stays balanced. If you lubricate the rollers and hinges first, you might mask the grinding noise that was your only warning sign of a failing spring. If you check the opener first, you’ll waste time adjusting force settings on a door that’s actually binding because a track is slightly bent. A technician walks the job from the load-bearing components outward, and that’s how this checklist is structured.
In Santa Ana specifically, we see sequencing errors create real problems. Homeowners who lube a noisy door every month without ever checking spring tension end up with a snapped spring and a door slammed shut on a car hood. The noise wasn’t dry rollers. It was a spring losing tension and transferring uneven load to the hinges. The order isn’t pedantry. It’s the difference between catching a $40 roller replacement and absorbing an $800 spring and panel repair. This is the same sequence our technicians use during a full Garage Door Repair service call in Santa Ana, scaled down for homeowner-level inspection.
Step 1: Spring Tension and the Halfway Lift Test
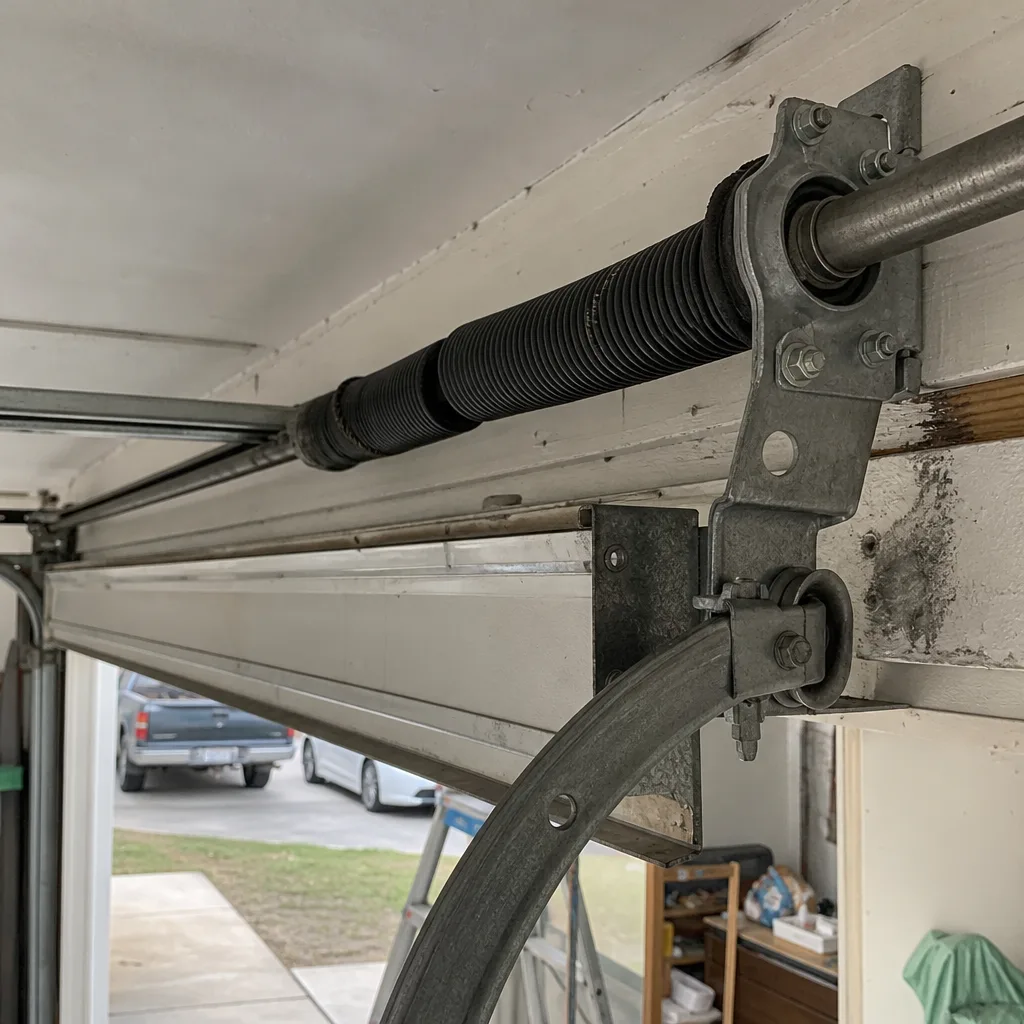
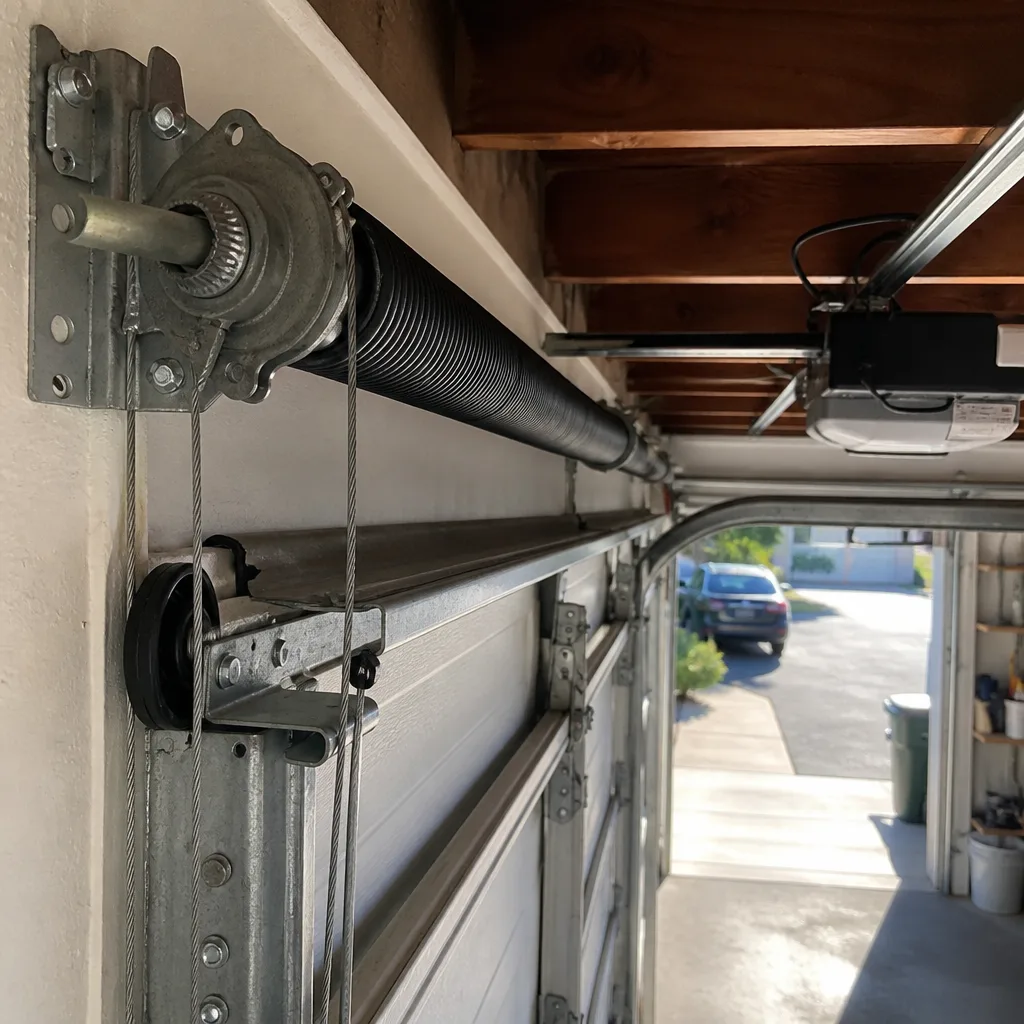
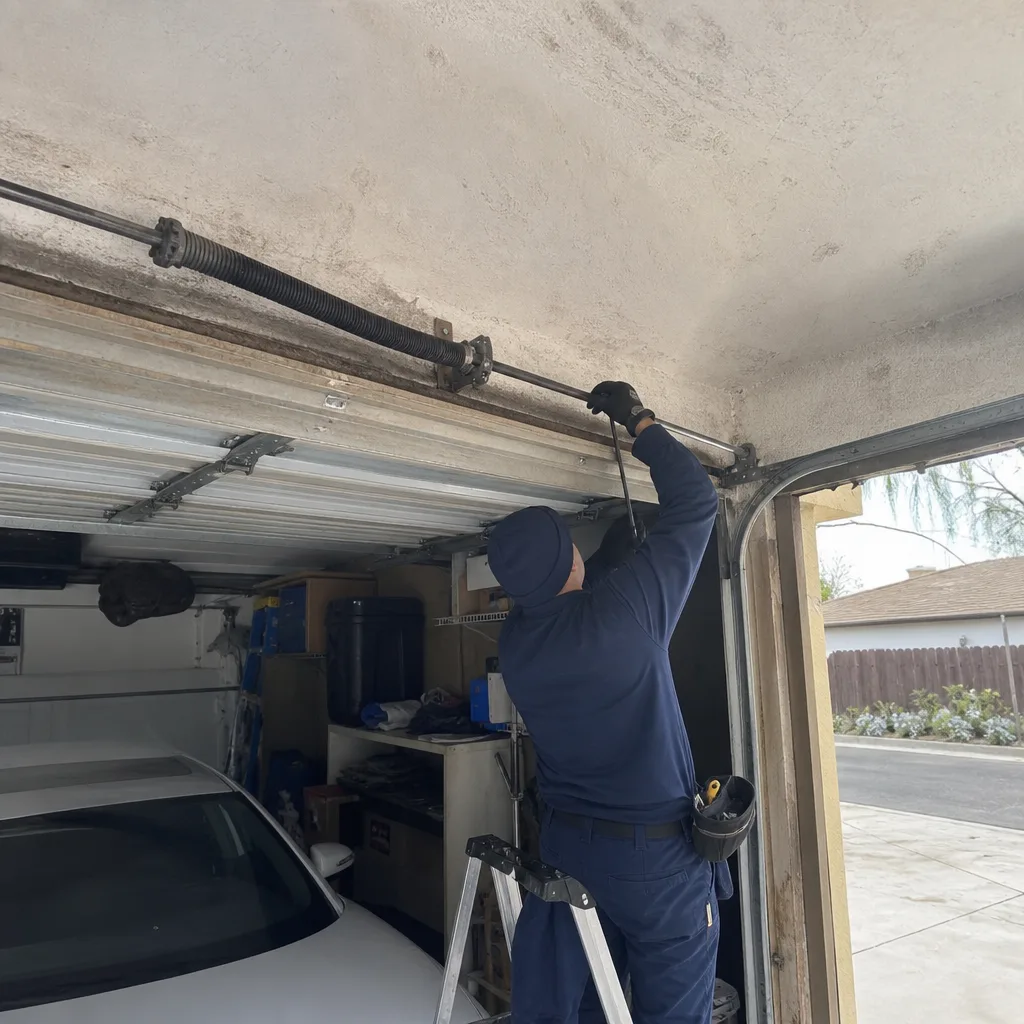
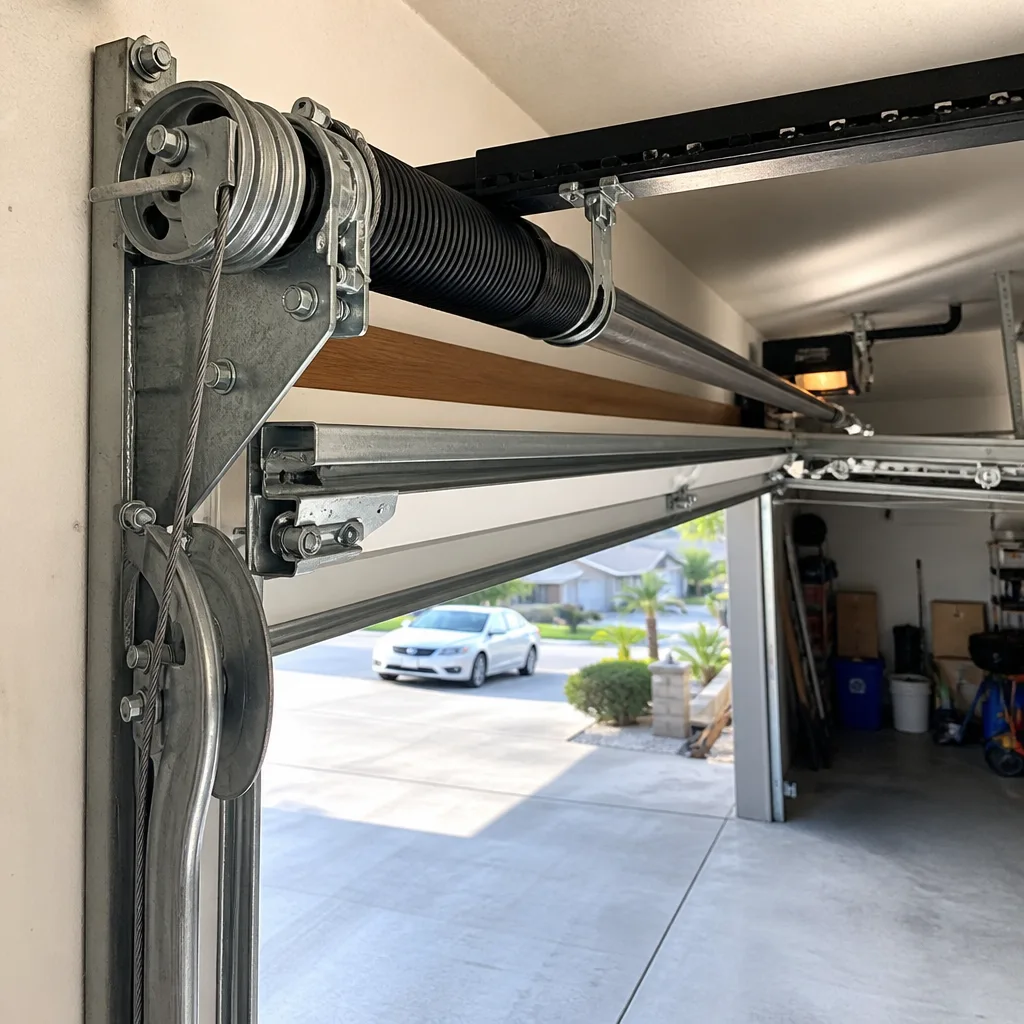
Every maintenance checklist should start here, because the springs are what keep your door from behaving like a five-hundred-pound guillotine. You have either torsion springs – mounted horizontally above the closed door on a metal shaft – or extension springs, which run vertically along the horizontal tracks on either side. Most homes built in Santa Ana after the mid-1990s use torsion springs. Older homes, especially in neighborhoods like Floral Park, Washington Square, and parts of Wilshire Square, may still have extension springs.
The test itself is called the halfway lift, and it requires no tools and zero contact with the springs. Here’s how it works:
- Close the door completely. Pull the emergency release handle – the red cord hanging from the opener rail. This disconnects the door from the opener carriage.
- Lift the door manually until it’s about waist-high, roughly halfway open.
- Let go. Do not move your hands far – keep them ready to catch the door if it drops.
- A properly balanced door will stay put within a few inches of where you released it. It won’t float upward, and it won’t sink.
- If the door drops quickly, your springs have lost tension and are doing less than their share of the work. If the door shoots upward, the springs are over-tensioned. Both conditions force your opener motor to work against resistance it was never designed for.
- Reconnect the door to the opener after the test by pulling the release cord toward the door until it clicks back into place.
Springs lose tension gradually. You won’t notice the slow creep of extra weight, but the halfway lift test catches it. In our experience across Santa Ana, torsion springs last between seven and twelve years depending on cycle count and temperature swings. If your door fails the halfway lift test, you’re no longer in maintenance territory. Springs under tension are dangerous to adjust, and the repair needs a trained technician. Do not attempt to wind or unwind a torsion spring yourself. The stored energy in a wound spring can snap a tool or a hand before you know it happened.
Step 2: Cables, Brackets, and the Hardware You Can Actually See
Once you’ve confirmed the springs are doing their job, move to the cables. These are the thin steel wires that run from the bottom brackets of the door up to the drums at the top of the tracks or to the spring anchors. Look for three specific things:
- Fraying – any broken strand anywhere along the cable means the cable is on borrowed time. A frayed cable can snap while the door is mid-cycle, and a snapped cable under load whips with enough force to cut.
- Rust – surface rust on cables is more common in Santa Ana than inland because of proximity to coastal air corridors. Light rust is cosmetic. Pitting or flaking is structural.
- Slack – with the door closed, cables should be taut. A cable that sags or hangs loose usually means the spring has lost tension or the drum has slipped.
Next, scan every bolt, nut, and bracket you can see without touching the spring assembly. The bottom brackets hold the cable ends and the weight of the door itself. The track brackets bolt into the door jamb and the horizontal angle iron. Give each bracket a visual inspection, and if you have a socket wrench, check that the bolts are snug. Do not over-tighten. Bolts on a garage door are typically torqued to 20 to 30 foot-pounds, which is tighter than hand-tight but well short of grunting hard on a breaker bar. A loose bottom bracket on a single-car door in Santa Ana’s older housing stock is one of the most common issues we see during repair calls – the constant micro-movement of the door against the bracket works bolts free over time, and by the time the homeowner notices, the bracket has pulled away and gouged the door panel.
Step 3: Rollers and Hinges – The Wear Items Nobody Checks
Your door has between ten and twelve rollers, depending on whether it’s a single or double door and whether it’s a standard or high-lift configuration. Each roller does more work per cycle than any other wear component, and they’re the first parts to announce failure with a grinding or squealing sound. Here’s what to check:
Roller material. Steel rollers with no ball bearings last about five to seven years in Santa Ana’s heat, which accelerates the breakdown of any remaining factory lubricant. Nylon rollers with sealed ball bearings last significantly longer and run quieter. If your rollers are original from a Chamberlain or LiftMaster door installed a decade ago, and they’re steel with no bearing, plan to replace them before they seize and start chewing up the track.
Ball bearing play. With the door closed, reach up and try to wiggle a roller stem. There should be no side-to-side movement. If you feel slop, the bearing is wearing. A worn bearing lets the roller ride at an angle, which wears the track unevenly and eventually cracks the roller wheel.
Hinge check. The hinges attach each panel to the next and hold the rollers in their tracks. There are numbered hinges – #1 at the bottom with the longest arm, #2, #3, and #4 working up the door. Look at the hinge leaves where they bolt to the panel. If you see hairline cracks radiating from the bolt holes, the hinge is fatiguing. A cracked hinge fails completely without warning and drops a corner of the door, which bends the panel and pulls the track out of alignment. Replace a cracked hinge the week you notice it.
Hinge alignment. Lay a straight edge or a stiff level along the door jamb and look down the line of hinges. Each hinge barrel should sit in a straight vertical line. A hinge that’s twisted or leaning means the panel itself has shifted, usually from a loose or damaged track bracket higher up. Don’t just tighten the hinge – find the cause first.
If you find roller or hinge issues during a maintenance pass, you’re still in DIY-appropriate territory for the hinge replacement if you have basic hand tools, but roller replacement on a torsion spring door means removing the bottom bracket bolt that holds the cable under tension. That’s a job for a pro. We handle roller and hinge replacement as part of standard garage door repair in Santa Ana, and it’s one of the faster calls we run. For Garage Door Warning Signs: A Santa Ana Homeowner’s Reference Guide, check our local resource.
Step 4: Track Alignment and Santa Ana Corrosion Checkpoints
The tracks are the two vertical and two horizontal rails that guide the rollers. They look sturdy – they’re steel – but they’re mounted with brackets that flex every cycle, and in Santa Ana’s climate, the fasteners at the bracket-to-track connection are the primary corrosion point on the whole door system. Here’s the walk:
- Check track-to-bracket fasteners. The small machine screws that hold the track to the bracket are the first thing to rust, especially on the lower vertical sections where humidity settles. If you see orange staining around the screw heads, the threads inside are likely corroded too. A rusted screw can snap during the next door cycle, and a snapped screw drops the track a quarter inch, which is enough to bind the rollers and strain the opener.
- Run your finger along the inside of the track. You’re feeling for dents, gouges, or flattening. A track that’s been hit by a car bumper or a misplaced ladder leaves a flat spot, and every time the roller passes over it, it hammers the flat spot wider. A flattened track accelerates roller wear and eventually spits the roller out of the track entirely.
- Check the gap between the track and the door edge. On a properly aligned track, the gap stays consistent from top to bottom. If the gap widens at eye level or near the floor, the track is out of plumb. A track that’s out of alignment by even a half inch puts sideways pressure on every roller in the loop.
- Look at the mounting brackets themselves. The L-shaped brackets that bolt to the door jamb should be perpendicular to the wall. If one is bent inward or outward, the track bows at that point. Bent brackets are a common casualty of kids throwing bikes into the garage or a stray truck bumper – more common in Santa Ana’s tight single-car garages than homeowners expect.
Track alignment issues are usually a repair call, not a maintenance fix. You can tighten a loose bracket bolt, but straightening a bent bracket or re-plumbing a track requires a level, a socket set, and the experience to know when the track has been stressed beyond the point of safe reuse. If the track is visibly twisted or the door shudders when passing a specific point, stop using the door and call for service.
Step 5: What to Lubricate, What to Skip, and the Two Products That Cause Damage
Lubrication is the most misinformed topic in garage door maintenance. Most homeowners use the wrong product on the wrong parts, and two commonly recommended products actively damage the door system. Here’s the truth from the field:
Lubricate these points:
- Roller bearings – if your rollers have exposed ball bearings, a drop of light machine oil or a PTFE-based spray on each bearing is all they need. If they’re sealed nylon rollers, skip them entirely. Adding lubricant to sealed bearings does nothing but attract dust.
- Hinge pivot points – a light spray on the hinge barrel where it pivots, not the bolt threads.
- Springs – a thin film of garage-door-specific spray lubricant or white lithium grease on torsion and extension springs prevents rust and reduces friction between coils. In Santa Ana’s humid winters, this is the single highest-value lubrication point on the entire door.
- The opener rail – only if it’s a chain-drive or screw-drive opener. Belt-drive openers from LiftMaster or Chamberlain do not need rail lubrication, and lubricant on a belt degrades the rubber.
The two products that cause damage:
- WD-40. It’s a solvent and water displacer, not a lubricant. It strips existing lubricant, evaporates quickly, and leaves the metal drier than before. On rollers and hinges, WD-40 accelerates wear. On springs, it strips any protective film and in a coastal climate like Santa Ana’s, you’ll see surface rust within weeks of a WD-40 application.
- Grease on the track. The rollers do not slide on the track. They roll. Grease on the track surface collects dust, dirt, and the fine grit that blows in from Santa Ana’s dry riverbeds, turning the track into a grinding paste that eats roller wheels and track steel. Tracks run dry. Always.
There’s a persistent belief that garage door springs should be greased heavily, and some homeowner forums recommend packing them with axle grease. Heavy grease on springs traps moisture against the steel, accelerates corrosion at the coil contact points, and the next thing you know you’ve got a spring with a rust-stress crack that snaps at 3 a.m. Use a light spray lubricant designed for garage doors, apply a thin coat, and wipe off the excess.
If you’d rather hand the lubrication pass to someone who does it every day as part of a full garage door opener repair and door service call, that’s something we handle routinely. But this part of the checklist is squarely DIY-appropriate if you use the right products.
Step 6: Opener Force Settings and Safety Reverse Test
The last component to check is the opener, because by now the door should be balanced, aligned, and running smoothly. If you’ve fixed a track issue or found a spring that’s out of tension, the opener test will fail regardless of its own condition. Run these checks only after the first five steps are complete.
Test the safety reverse. Place a roll of paper towels or a block of wood roughly the height of a two-by-four on its side in the center of the door’s path. Close the door with the opener. The door should make contact with the object and reverse within two seconds. If the door keeps pressing down or reverses only after grinding into the obstruction, the opener’s pressure or limit settings are wrong, or the safety sensors are misaligned. This is a federal safety requirement, not a suggestion, and a door that fails this test on a Child or pet is a preventable tragedy.
Check the force settings. With the door closed, press the wall button to open it. Watch the door’s travel. It should move steadily without hesitation, slowing slightly at the top and bottom. If the opener strains audibly, the force is set too high and you’re asking the motor to push harder than it should. Force settings are adjusted via a dial or button sequence on the opener head, and the procedure varies by brand. LiftMaster and Chamberlain openers use a specific programming sequence. Genie openers use a different one. If you don’t have the manual or aren’t confident in the sequence, this is a five-minute fix on a service call, but a wrong setting can cause the door to stop mid-cycle or reverse unpredictably.
Listen to the opener. A chain-drive opener makes predictable mechanical noise. A belt-drive should run almost silently. If you hear grinding, whining, or a thunk-thunk-thunk from the head unit, the gears or sprockets are wearing. Opener gear failure is common on units older than ten years, and in Santa Ana’s heat, the plastic gears inside Chamberlain and Craftsman openers degrade faster than in cooler climates. If your opener is grinding, it’s living on borrowed time, and a replacement opener or drive gear is a standard opener repair call.
For what it’s worth, most Santa Ana homes use LiftMaster or Chamberlain openers – they’re the most common on the market, and you’ll see them in every neighborhood from Morrison Park to the newer builds in Bristol Manor. Craftsman openers still show up regularly in older homes, and Genie has a solid presence in homes built in the 2010s. It doesn’t matter which one is hanging from your ceiling; the safety reverse test works the same on all of them.
Common Mistakes to Avoid
- Lubricating before checking spring tension. This is the #1 homeowner mistake in Santa Ana. A noisy door gets sprayed with lube, the noise drops for a week, and then the spring snaps because the underlying issue was never found. Check tension first. Always.
- Using WD-40 on anything. It’s not a lubricant, and on garage door components it actively makes things worse. If it’s all you have, wait and buy the right product rather than applying a solvent to your springs.
- Greasing the track. Rollers roll, they don’t slide. Grease on track steel creates a grinding paste with Santa Ana’s fine dust and sand from the Santa Ana wind corridor. Tracks run dry.
- Ignoring the halfway lift test because “the door opens fine.” A door that opens fine today with weakened springs is transferring that extra load to the opener motor and the hinges. The failure comes later, and it’s more expensive than a spring replacement would have been.
- Adjusting opener limits to “fix” a door that’s out of balance. If the door doesn’t close fully, the problem is rarely the limit switch. It’s usually track alignment or spring tension. Bumping the limits masks the real problem and stresses every other component.
- Touching the springs. Torsion springs store enough energy to remove fingers. There is no safe field adjustment for a homeowner without the proper winding bars and training. If the spring is the problem, it’s a professional repair.
- Skipping the safety reverse test because it’s “not really maintenance.” This is the one test that can literally save a life. It takes thirty seconds. Do it every time you run through the checklist.
When to Call a Professional
You can handle the inspection, the halfway lift test, light lubrication, and the safety reverse check on your own. But some findings are not maintenance items – they’re repair calls, and pushing through them yourself turns a small repair into an expensive one. A snapped or visibly sagging spring, a frayed cable, a cracked hinge, a bent or twisted track, or an opener that’s grinding through its gears all warrant a call to a specialist who sees these failures every day. Santa Ana Garage Door Service offers free estimates in Santa Ana – call (855) 341-7810 and we’ll give you a straight read on what’s wrong and what it costs before any work starts. Browse our more guides & resources for additional homeowner tips. Garage doors are all we do, which means we do them right.
Frequently Asked Questions
Run through this checklist twice a year in Santa Ana – once in spring before the summer heat pushes garage temperatures above 110°F, and once in late fall before winter humidity and coastal fog arrive. The springs, rollers, and opener components all expand and contract with temperature swings, and semi-annual checks catch wear before it becomes a breakdown.
Disconnect the door using the red emergency release cord, lift it to waist height, and let go. A balanced door stays within a few inches of where you left it. If it drops, your springs are weak. If it floats upward, they’re over-tensioned. Both conditions need professional adjustment because springs under tension are too dangerous to work on without the right equipment and training.
Use a garage-door-specific spray lubricant or white lithium grease on the springs, a PTFE-based spray on exposed roller bearings, and nothing at all on sealed nylon rollers or belt-drive opener rails. In Santa Ana’s humid winters, the springs are the highest-value lubrication point because corrosion protection matters more here than in inland dry climates. Avoid WD-40 – it strips lubricant and leaves metal exposed to salt-tinged coastal air.
Inspection, lubrication, the halfway lift test, and the safety reverse test are safe and appropriate for most homeowners. Replacing springs, adjusting torsion spring tension, repairing cables, straightening tracks, or reprogramming opener force settings are professional jobs. The line is simple: if the component is under load, don’t work on it yourself. Call a specialist who already knows your specific brand – whether that’s a Chamberlain opener or a Clopay door – and gets the diagnosis right the first time.
Santa Ana’s proximity to coastal air corridors means more ambient humidity, and that humidity settles into unprotected metal components – spring coils, hinge pivot points, and track fasteners – as surface corrosion. Corroded surfaces grind instead of sliding or rolling smoothly. A thin coat of the right lubricant on springs and hinge pivots twice a year is the fix for most noise complaints, but persistent grinding may mean worn rollers or a failing opener gear.
Many garage door companies in Santa Ana, including ours, offer free estimates and will roll a basic inspection into the estimate visit. If you’re not comfortable running the checklist yourself, call (855) 341-7810 and we’ll schedule a time to walk the door with you. The price is quoted and agreed before any work starts, and if the inspection finds nothing that needs repair, you’ll know that for free.
The Bottom Line
The garage door on your Santa Ana home opens and closes more than a thousand times a year, and every one of those cycles is a small test of the springs, cables, rollers, and opener. The components that fail first are the ones nobody inspects – spring tension that drifts out of spec, cables that fray at the bottom bracket, hinge leaves that crack at the bolt holes. Run this checklist twice a year in the order it’s written: springs first, then cables, rollers, tracks, lubrication, and the opener last. Most of it takes under twenty minutes. The parts you should not touch – springs under tension, cables under load, bent tracks – are exactly the parts a trained specialist should handle, and Garage Door Repair in Santa Ana is what we do every day. For opener-specific issues, from force settings to gear replacement, see our Garage Door Opener Repair in Santa Ana page. And if the checklist leads you to conclude that a new door is the better investment, we handle Garage Door Installation in Santa Ana too – the same team, the same day, no handoffs. Whatever brand is on your door, we already know it. Santa Ana Garage Door Service home is your starting point for all three. Call (855) 341-7810 for a free estimate, and we’ll give you a straight answer before any work begins.
Written by the team at Santa Ana Garage Door Service, serving Santa Ana since 2011.
See the difference
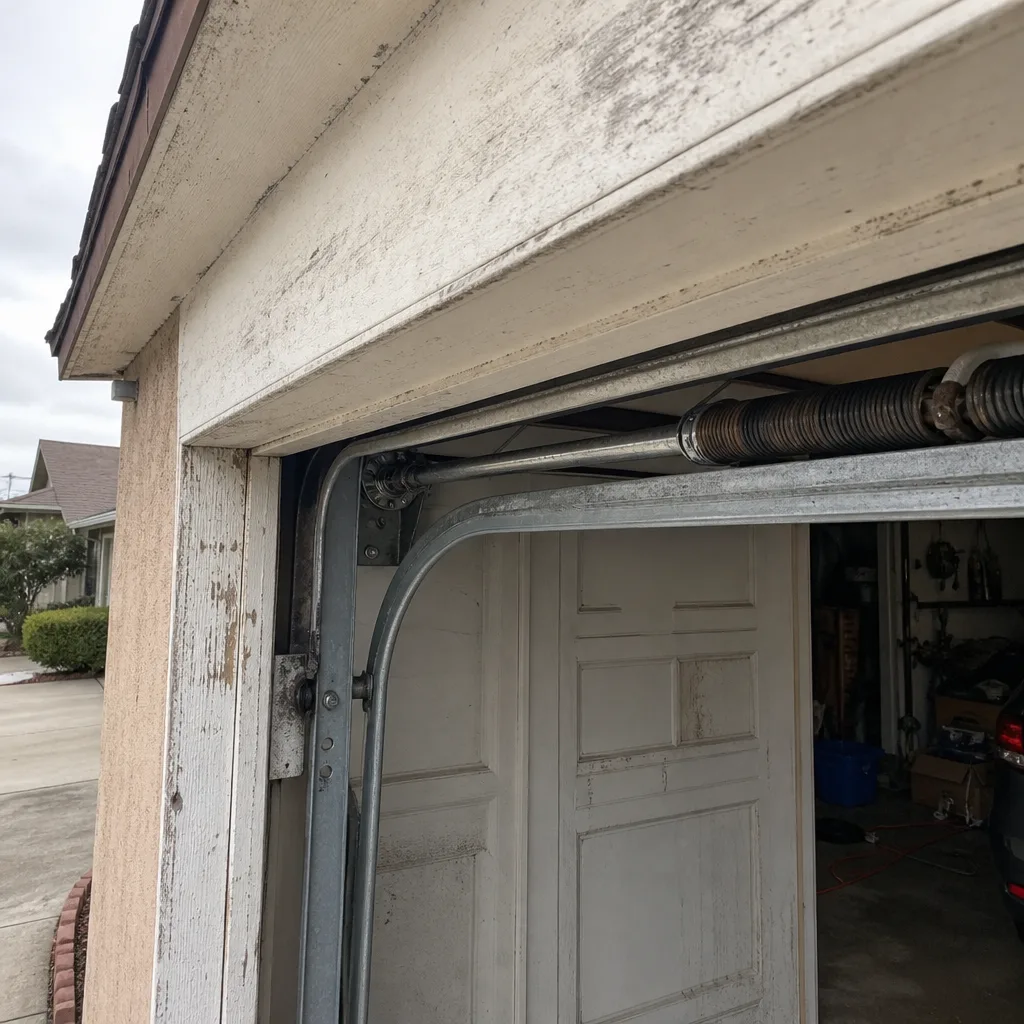 Before
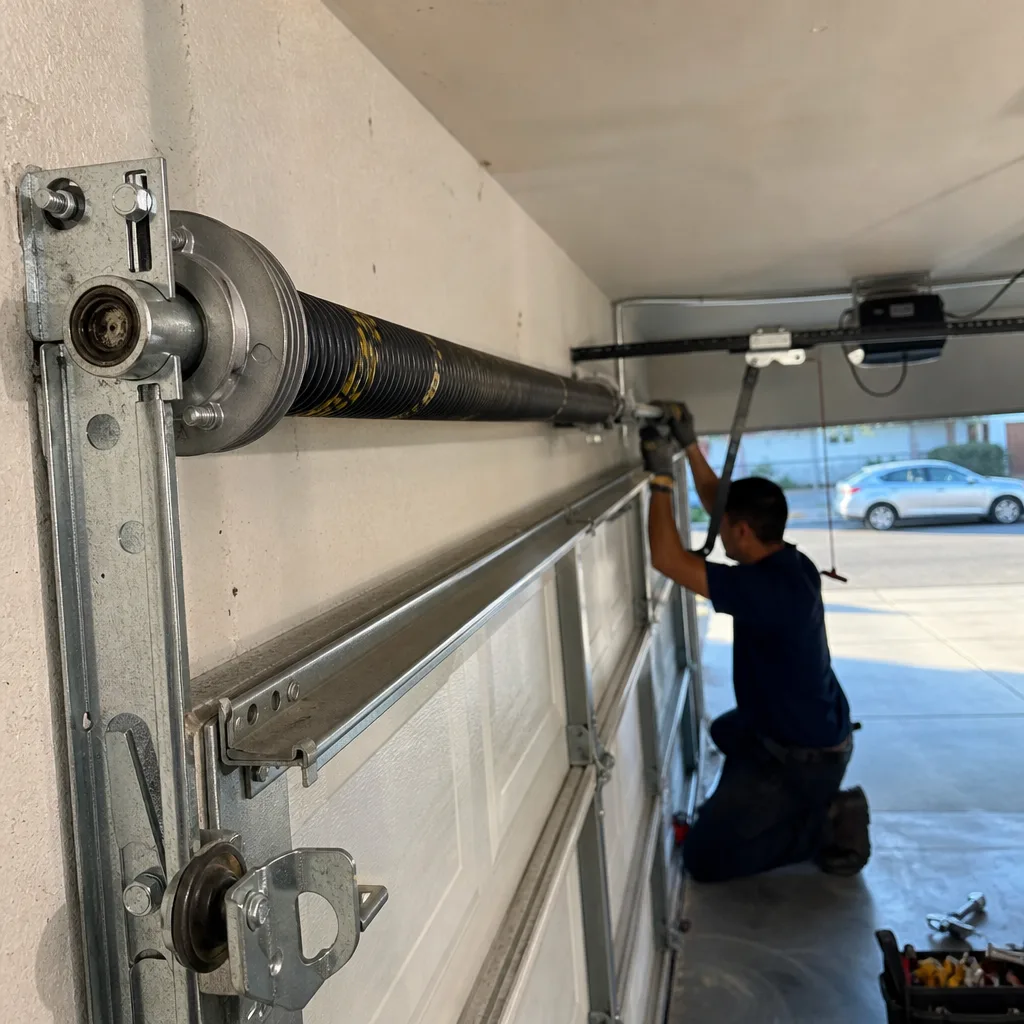 After
 Before
 After
 Before
 After