Last updated October 31, 2026
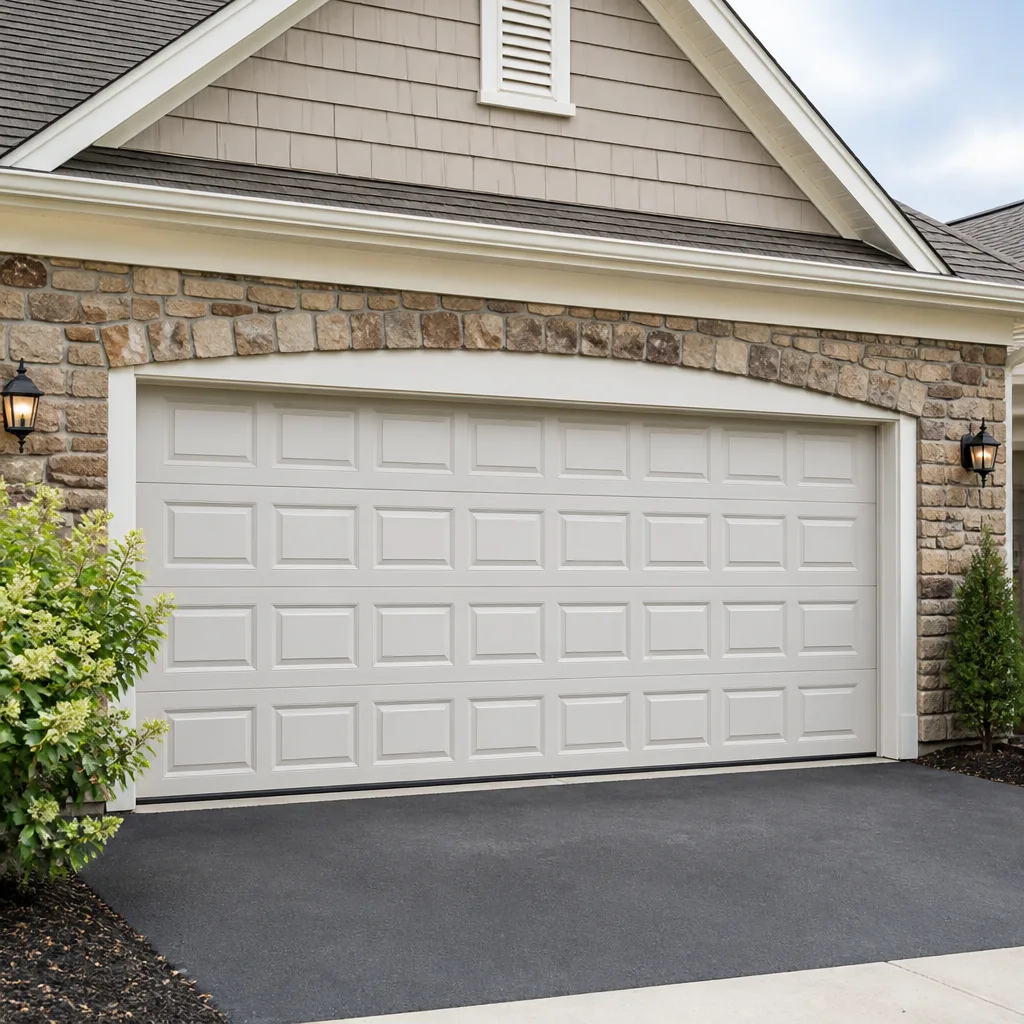 Raised-panel steel
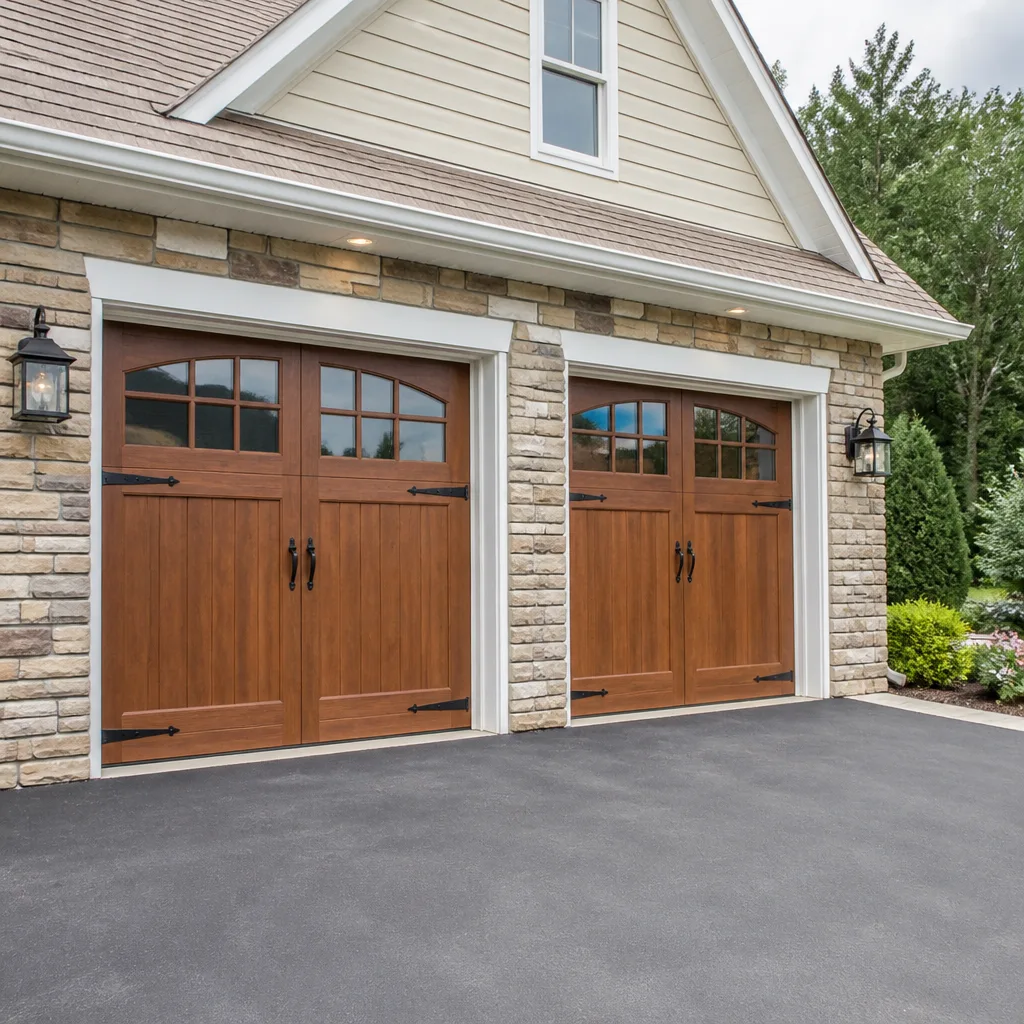 Carriage house
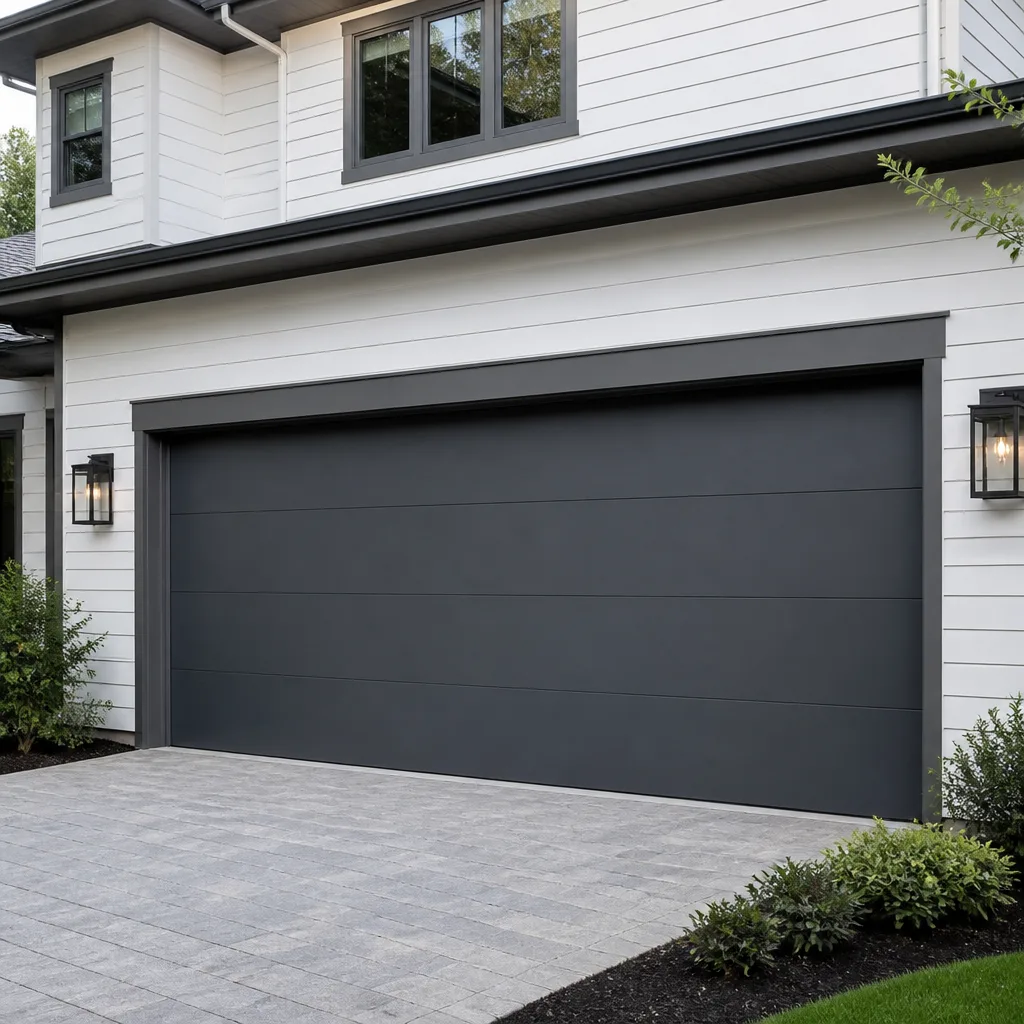 Modern flush
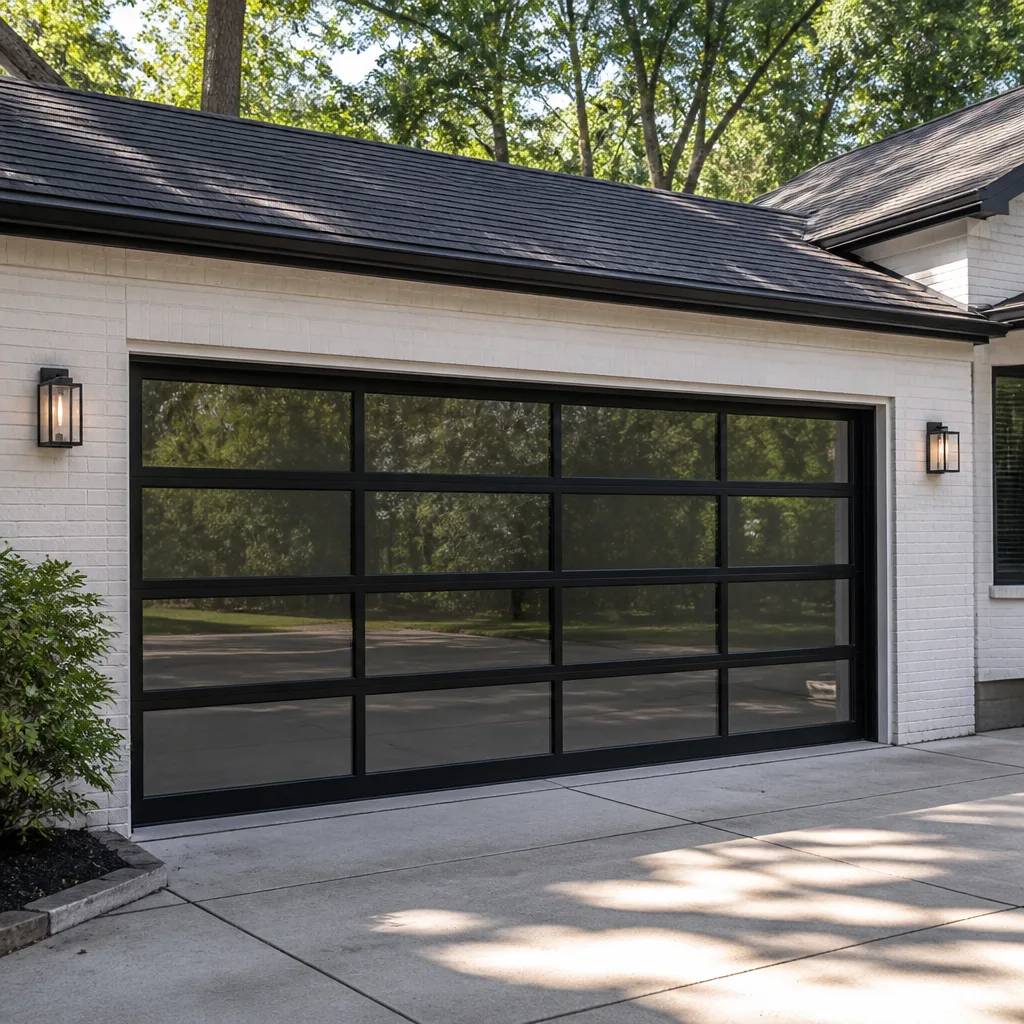 Full-view glass
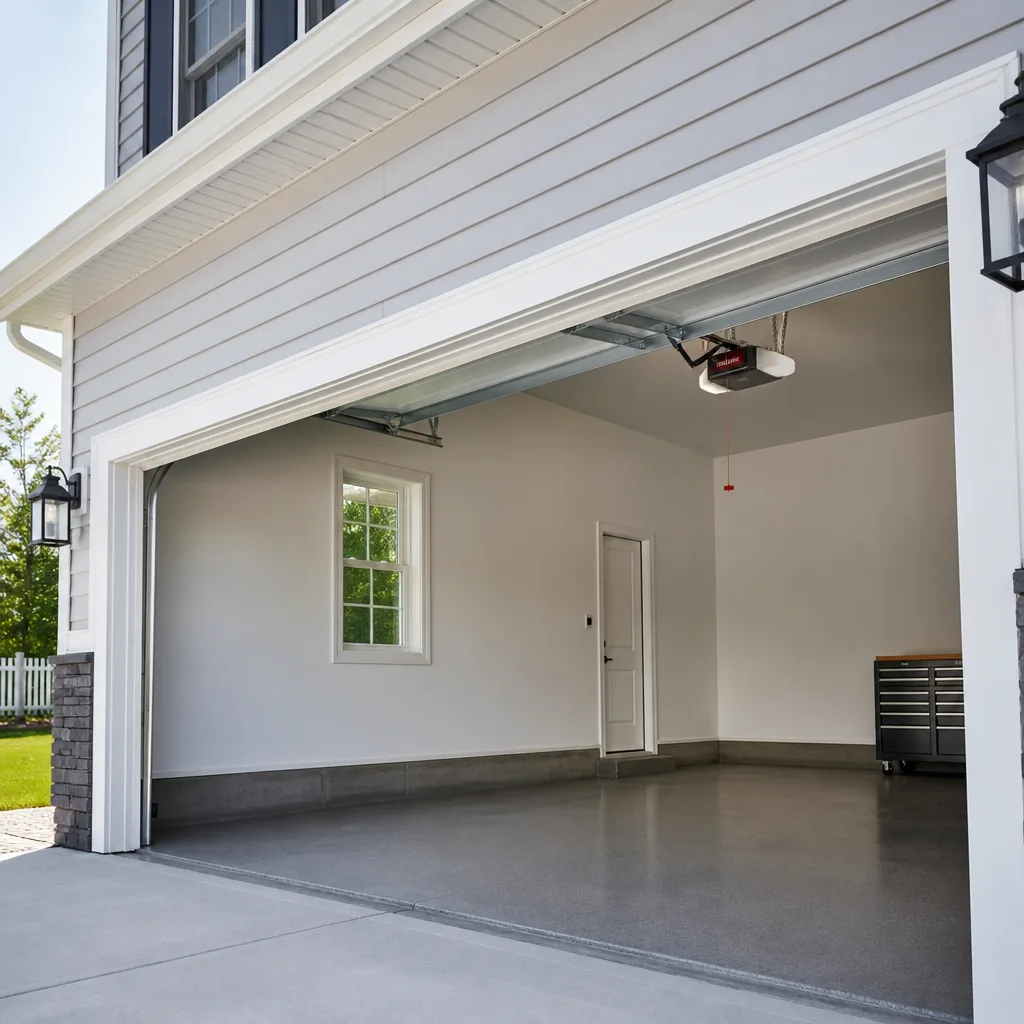 LiftMaster openers
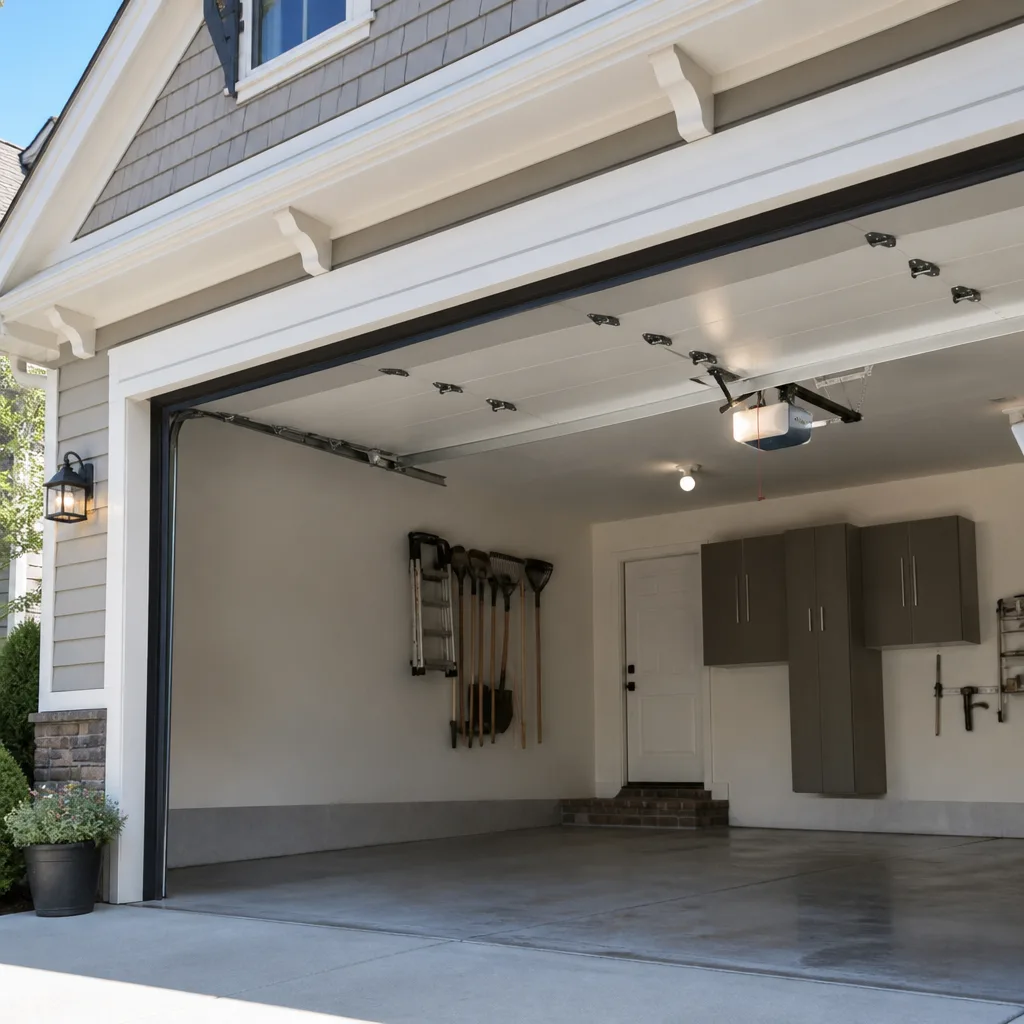 Chamberlain openers
Full 25-point door and opener safety check with every visit - springs, cables, rollers, tracks, and your LiftMaster or Chamberlain opener included
You get a price before we start. It does not change when the truck arrives.
Get your free estimateGarage Door Repair Troubleshooting: Common Problems and How to Fix Them
The most expensive garage door repair mistake isn’t ignoring a problem, it’s fixing the wrong thing first. We’ve walked into homes in Santa Ana where a homeowner replaced a perfectly good opener because the door wouldn’t move, when the actual issue was a snapped cable putting the system into safety lockout. That’s a $400 part swapped out when a $45 cable was the culprit. This guide walks you through a diagnostic sequence that narrows the problem to a specific component before you spend a dollar. You’ll learn how to isolate whether the fault sits in the opener, the door mechanics, or the safety system, and exactly when to stop touching things and call someone who does our Garage Door Repair services every day.
Styles & brands we work with
Quick Answer
Most garage door problems trace to one of five components: the safety sensors, the opener’s travel limits, the springs, the cables, or the drive gear. Start with a manual disconnect test to determine whether the opener or the door itself is at fault, then work through the symptom-specific checks below. If the door feels heavy or unbalanced when disconnected, stop immediately and call a professional, because the springs are under lethal tension.
Table of Contents
- Symptom-First Decision Tree: What Your Door Is Telling You
- The Manual Disconnect Test: Isolate Opener vs. Door Mechanics
- The Four-Point Safety Sensor Alignment Check
- Reading LED Blink Codes on LiftMaster, Chamberlain, Genie, and Craftsman
- Spring Failures: Torsion vs. Extension and Why They Snap
- Cable Problems: Fraying, Slipping, and Full Breaks
- Opener Runs But Door Doesn’t Move: Drive Gear and Coupler Failures
- How Santa Ana’s Climate Affects Your Garage Door System
- Common Mistakes to Avoid
- When to Call a Professional
- Frequently Asked Questions
- The Bottom Line
Symptom-First Decision Tree: What Your Door Is Telling You
Before you touch anything, identify exactly what the door does when you press the wall button or remote. The symptom narrows the problem to a specific subsystem. Here’s the decision tree we use on service calls across Santa Ana, and it works regardless of whether you have a Wayne Dalton door with a LiftMaster opener or a Raynor setup with a Craftsman drive unit.
Door won’t open at all, no motor sound
Three likely causes. First, check the outlet with something you know works, like a lamp. A tripped GFCI outlet in the garage is surprisingly common, especially in older Santa Ana homes where the opener shares a circuit with an exterior outlet. Second, check the opener’s circuit breaker. Third, try the wall button. If the wall button works but the remote doesn’t, the remote battery is dead or the opener lost its programming. If neither works and the outlet has power, you’re looking at an internal opener failure.
Door reverses immediately after hitting the floor
This is almost always a travel limit or safety sensor issue, not a mechanical problem. The opener thinks something is in the way and reverses as designed. The fix often takes ten minutes and costs nothing: clean the sensor lenses, realign them, or adjust the travel limit a quarter turn. We cover the sensor check in detail below.
Door opens a few inches, then stops
This points to a spring problem. The opener is designed to lift a balanced door, not dead weight. When a spring weakens or snaps, the opener strains, hits its force limit, and gives up. If you hear a loud bang before this starts happening, it’s a snapped spring. Stop using the door immediately and call a technician. Attempting to force it compounds the damage.
Door opens fully but won’t close
Safety sensor misalignment is the number one cause. The sensors sit on either side of the door, about six inches off the ground. If they can’t see each other, the opener refuses to close the door. Other causes include a broken sensor wire, sun glare hitting the receiving sensor (common in west-facing Santa Ana garages in the afternoon), or a loose connection.
Opener runs, door doesn’t move
You’ve lost the mechanical connection between the opener and the door. On a belt- or chain-drive opener, the drive gear or sprocket may have stripped. On a screw-drive opener, the coupler may be worn. On any opener, the emergency release cord may have been pulled, disconnecting the door from the traveler. The manual disconnect test below walks you through isolating this.
Door moves unevenly or binds on one side
A cable has likely slipped or broken on one side. Cables work with the springs to keep the door level as it travels. When one cable fails, the door tilts and jams in the track. Continuing to operate the door causes roller and track damage.
If you’ve narrowed the problem to the opener and want a deeper dive, our Garage Door Opener Repair in Santa Ana page covers drive systems, logic boards, and remote programming specifics.
The Manual Disconnect Test: Isolate Opener vs. Door Mechanics
This single test separates opener problems from door problems, and it’s the first thing our technicians do on any service call. It takes 60 seconds and tells you which half of the system is broken. Here’s how to do it safely.
Step-by-step guide
- Close the door completely. Never run the disconnect test with the door in a partially open position.
- Locate the emergency release cord. It’s the red rope hanging from the traveler or rail above the door.
- Pull the cord down and back toward the opener. You should hear a click as the traveler disengages from the door.
- Lift the door manually by the handle, not by the top edge. Use both hands and keep your fingers clear of the panel joints.
- Observe what happens.
Interpreting the results
If the door lifts smoothly to about waist height and stays there on its own: The door is balanced and the springs are doing their job. Your problem is in the opener, the traveler, or the drive mechanism.
If the door is heavy, drops when you let go, or you can’t lift it: The springs have failed or lost tension. The opener was compensating until it couldn’t. This is the scenario where homeowners in Santa Ana mistakenly replace the opener when the springs are the real issue, something we cover in Garage Door Warning Signs: A Santa Ana Homeowner’s Reference Guide.
If the door lifts but feels sticky, jerky, or grinds in the track: You have a track alignment issue, a failing roller, or a bent panel. The opener may be fine.
To re-engage the opener, pull the release cord down and toward the door, then run the opener once or twice until the traveler reconnects. You’ll hear a solid click when it locks back in.
One caution: if the door fell hard or you heard a loud crack before the problem started, skip this test entirely and call a professional. A door with a snapped spring can come down with enough force to seriously injure anyone in its path.
The Four-Point Safety Sensor Alignment Check
Roughly 30% of the “door won’t close” calls we handle in Santa Ana resolve with sensor adjustment, no parts required. The photo-eye sensors mounted on either side of the door have to maintain a clear line of sight. When they don’t, the opener assumes something is blocking the door and refuses to close. The fix is often free and takes ten minutes.
Point 1: Lens cleanliness
Dust, spider webs, and garage grime coat the small lens on each sensor. Wipe both lenses with a dry microfiber cloth. Don’t use glass cleaner, which can leave a residue that scatters the infrared beam.
Point 2: Physical alignment
The sensors should face each other directly. A bump from a trash can, bicycle, or car bumper knocks them out of alignment. Loosen the wing nut on the mounting bracket, aim the sensor at the one across the door, and tighten. Many sensors have a small LED that glows solid when aligned. If it blinks, keep adjusting.
Point 3: Wire connections
Check the two small wires running to each sensor. Look for staples that have cut through the insulation, wire nuts that have loosened, or any bare copper touching the metal track. A shorted sensor wire produces the same symptom as misalignment.
Point 4: Sun glare
In direct sunlight, the receiving sensor can be overwhelmed and refuse to see the infrared beam. West-facing garages in Santa Ana get hit hard in the late afternoon. If the door won’t close between 3 and 6 pm but works fine after dark, glare is your culprit. Build a small shade from cardboard and tape it over the sensor as a temporary fix, or call us to reposition the sensors permanently.
If all four checks pass and the door still reverses, the issue sits elsewhere; usually in the opener’s force settings or a failing logic board. That’s where our Garage Door Repair in Santa Ana service team steps in with diagnostic tools that read what the opener is actually seeing.
Reading LED Blink Codes on LiftMaster, Chamberlain, Genie, and Craftsman
Your opener has been telling you what’s wrong this entire time. You just need to know where to look. Every major opener brand since the mid-1990s uses LED blink codes to report fault conditions. Learning to read these turns a frustrating mystery into a specific diagnosis. Here’s what the four most common systems tell you.
LiftMaster and Chamberlain
Both brands use the same code structure because they’re built by the same manufacturer. The main light on the motor head blinks in patterns, and the two sensor LEDs further refine the diagnosis.
1 blink: Safety sensor wire is open or shorted. Check the wires running to each sensor.
2 blinks: Sensor wiring is intact but the sensors are misaligned or blocked. Go through the four-point check above.
4 blinks: The door is reversing too hard. Usually a broken spring forcing the opener to work against dead weight, a misaligned track, or a door that’s physically obstructed.
5 blinks: The motor is overheating. Common in Santa Ana summers when a garage hits 110 degrees and the opener runs multiple cycles in a short window. Let it cool for 30 minutes and check the force settings.
Genie
Genie openers use the round LED on the powerhead, or in older models, a series of flashes on the wall console.
Red LED, 2 blinks: Safety sensor fault. Same causes and fixes as LiftMaster.
Red LED, 3 blinks: Travel limit problem. The opener lost its programming for where the door should stop. Requires relearning the limits, which takes a screwdriver and about five minutes on most Genie models.
Red LED, 4 blinks: Force setting exceeded. The door hit something or is fighting a mechanical problem.
Craftsman
Craftsman openers built since 1998 are nearly identical to LiftMaster and Chamberlain internally, because the same company manufactured them under license. The blink codes match the LiftMaster chart above. For Craftsman units built before 1998, the wall console often has a separate diagnostic light that blinks one to five times, and the same pattern rules apply.
One thing that surprises people: a Craftsman opener from 2005 and a LiftMaster from 2015 often share the exact same logic board, so the codes carry over. We work on all of these systems regularly, and having the code number when you call saves time on diagnosis.
If you’re getting a code that doesn’t match what’s listed here, write down the number of blinks and the brand, then call us. We’ll tell you over the phone whether it’s safe to keep using the door.
Spring Failures: Torsion vs. Extension and Why They Snap
Garage door springs do the heavy lifting, literally. Your opener is designed to move a balanced door, not to dead-lift 150 to 250 pounds. When a spring fails, everything else strains. Understanding which spring system you have explains both how it fails and what the repair involves.
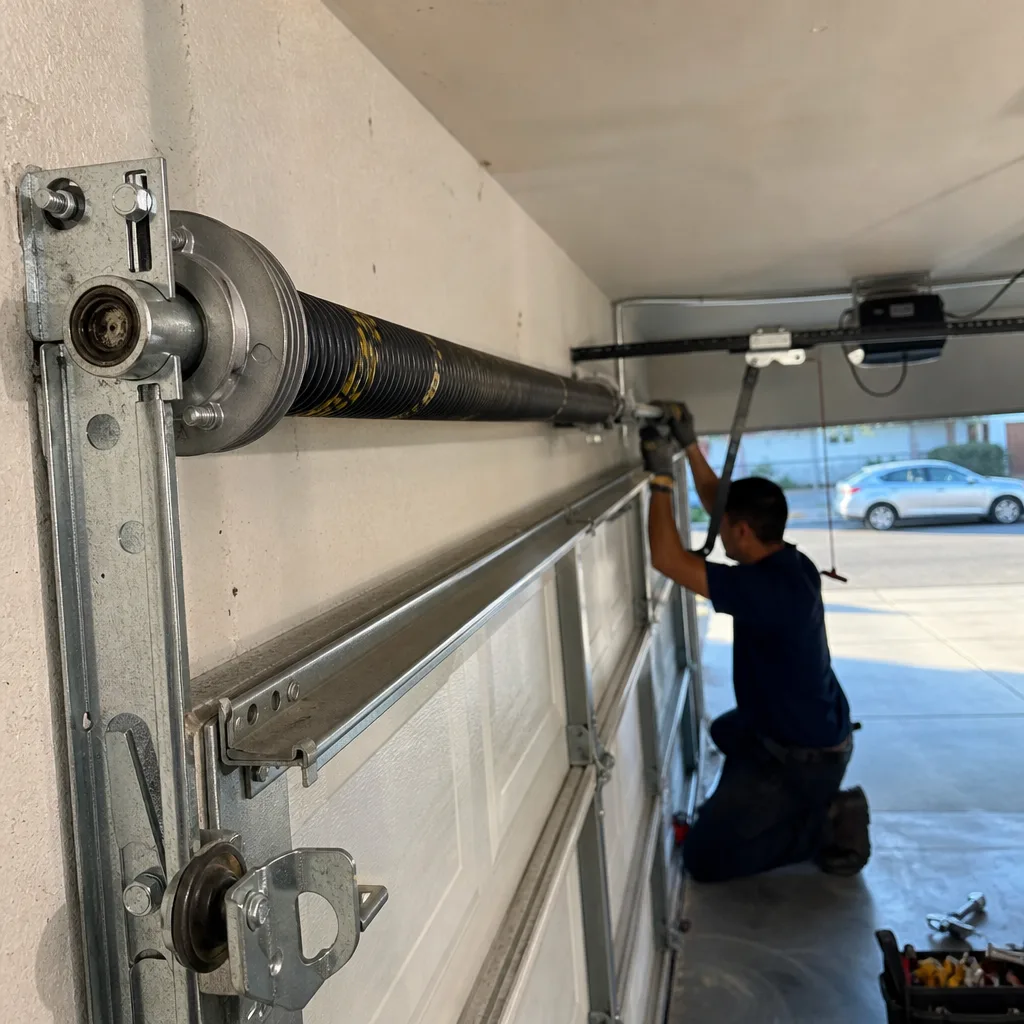
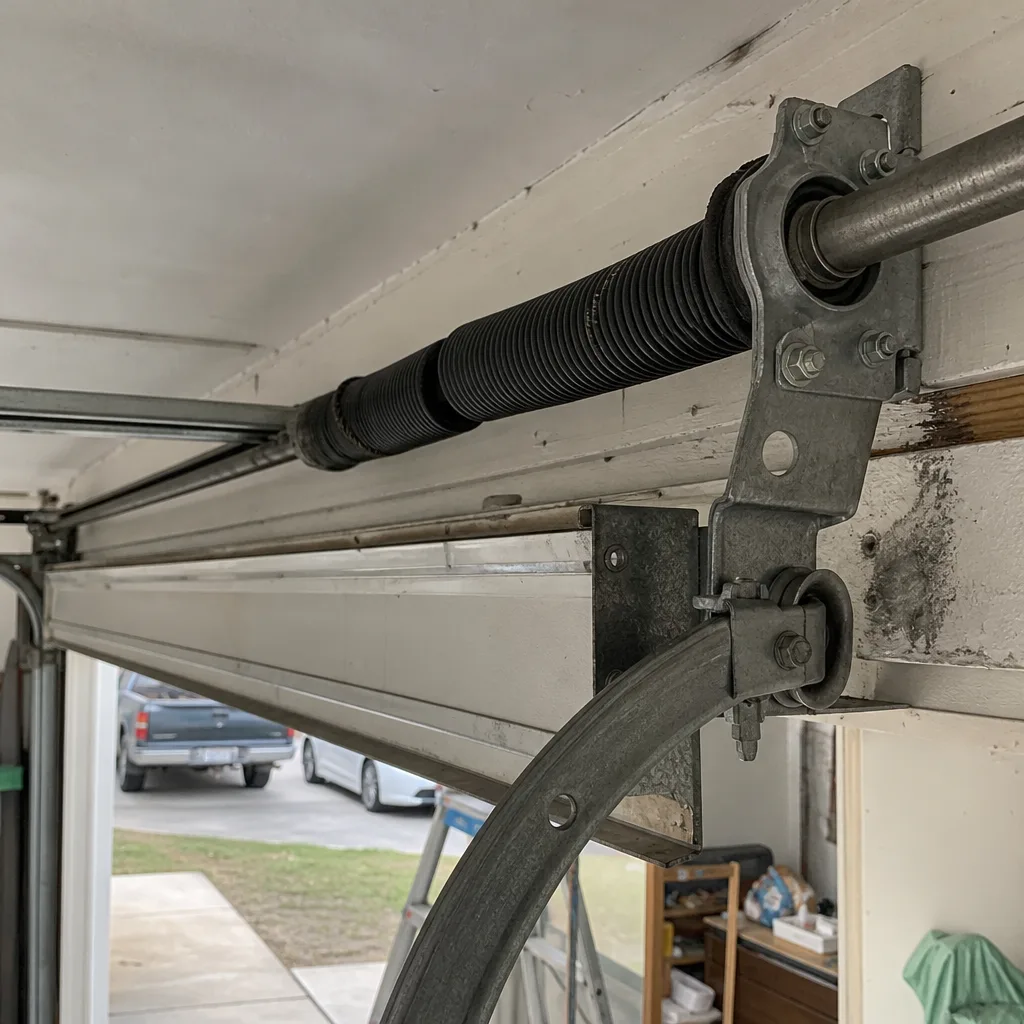
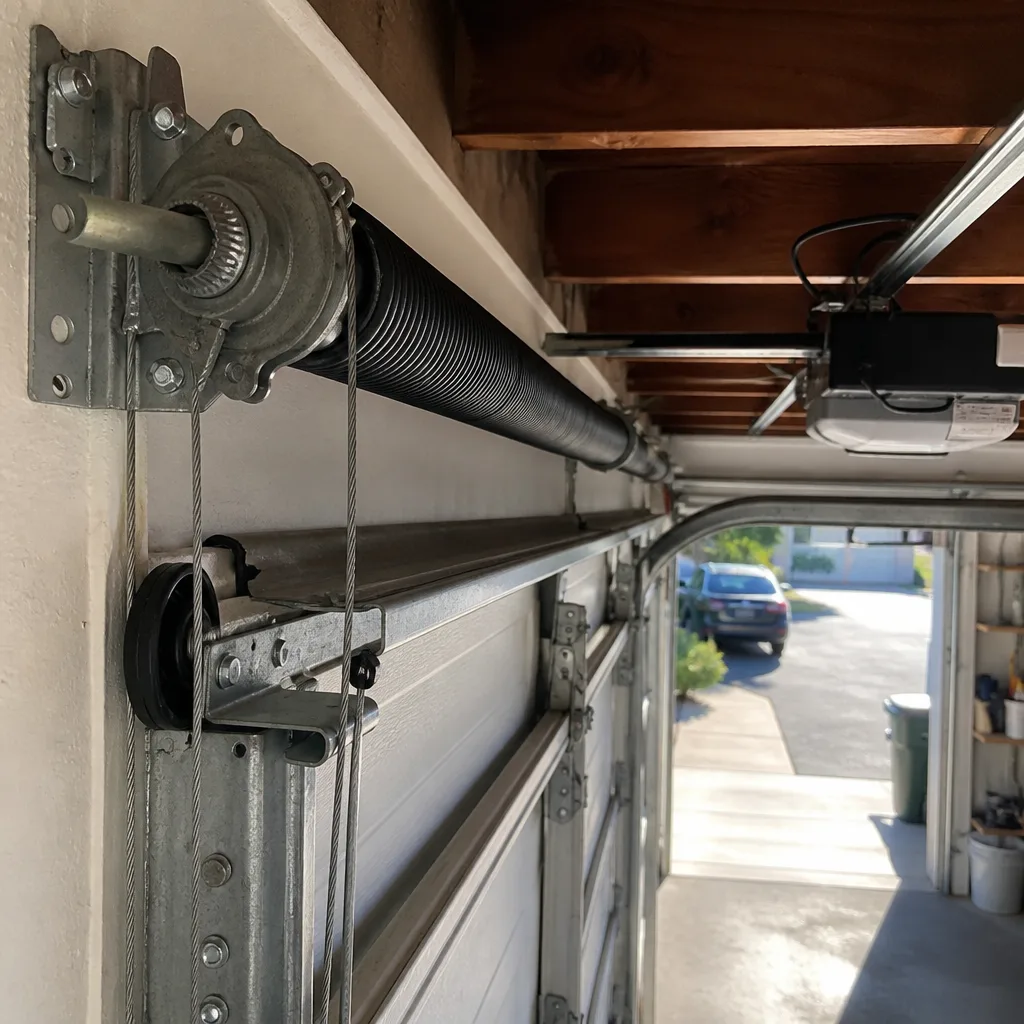
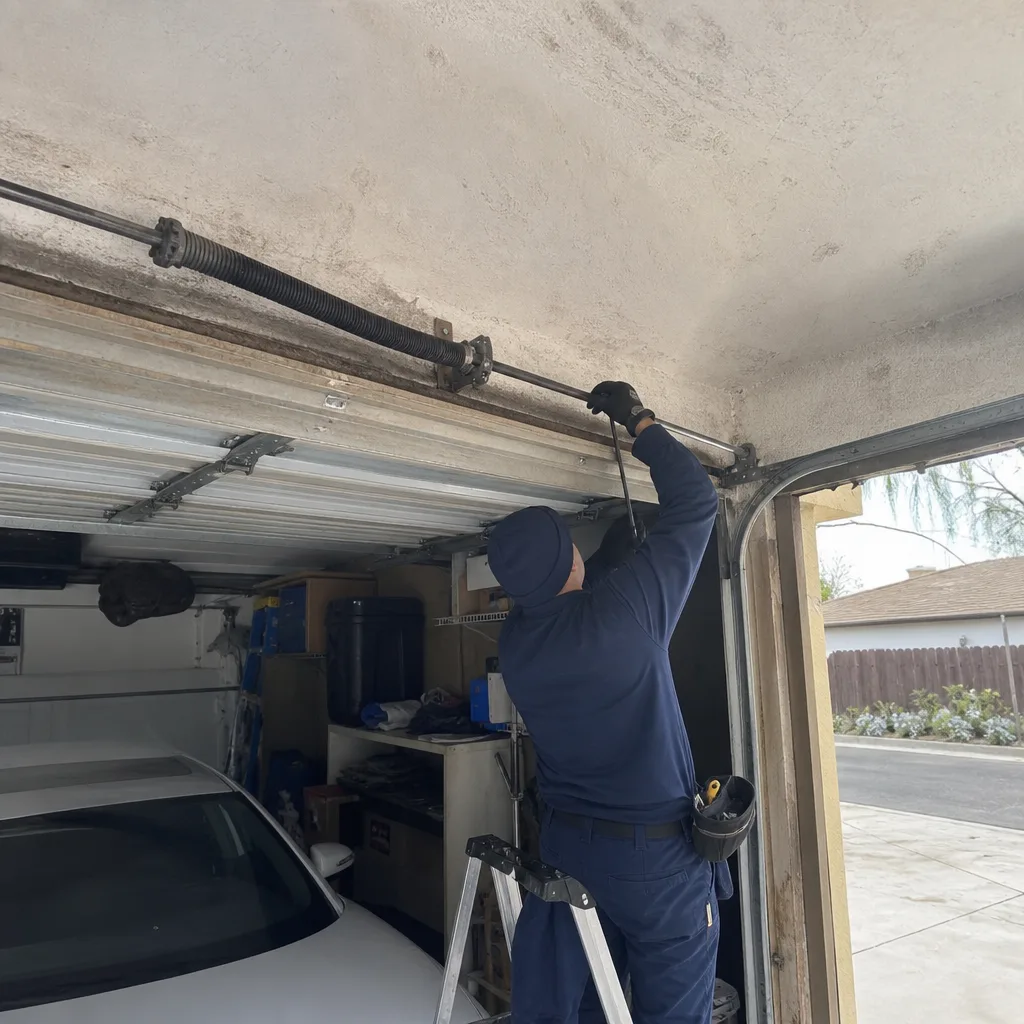
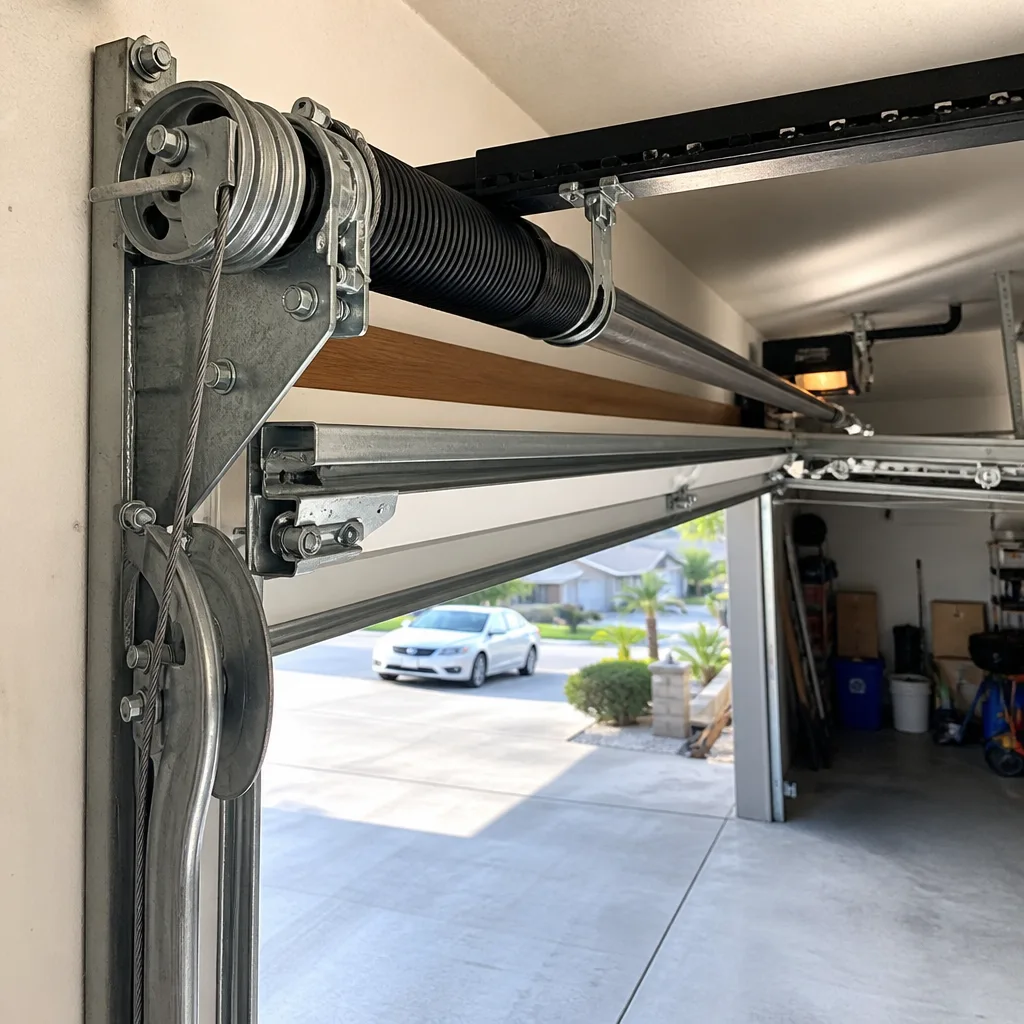
Torsion springs mount on a metal shaft above the closed door. They wind and unwind to store energy. They last 10,000 to 20,000 cycles, which translates to 7 to 14 years for most Santa Ana homes. When they fail, the sound is unmistakable: a loud crack like a firework going off inside the garage.
Extension springs run along the horizontal tracks on either side of the door. They stretch rather than wind. They’re more common on older doors and lighter single-car setups. When they fail, they usually show visible separation or a gap in the coil before breaking completely.
Why springs snap in Santa Ana specifically
Coastal air and temperature cycling both matter here. Santa Ana’s daily temperature swings, especially in the fall when mornings are cool and afternoons push into the 90s, cause the spring steel to expand and contract thousands of times. Add salt-tinged air working into micro-fractures, and spring life shortens measurably compared to inland areas with steadier temperatures. We see doors that are 8 years old with springs already showing fatigue cracks in coastal-facing garages.
What failure looks like
- Loud bang from the garage, then the opener strains or refuses to move the door
- A visible gap in the torsion spring coil above the door
- A stretch of extension spring separated from its pulley
- The door drops hard when released from the opener
- The door lifts a few inches and stops
Safety note: torsion springs hold enough force to break bones or cause fatal injury if mishandled. We do not recommend attempting to wind, unwind, or replace torsion springs yourself, even if you’re generally handy. This is not a task where patience substitutes for the right winding bars and experience reading spring wear. Call a trained technician.
Cable Problems: Fraying, Slipping, and Full Breaks
Cables are the unsung workhorses of your garage door system. They work in tandem with the springs to transfer force to the bottom corners of the door, keeping it level as it rises and falls. A cable has one job: maintain tension at exactly the right rate. When it fails, the door behaves badly fast.
Fraying cables
Steel cables rub against pulleys every single cycle. Over time, individual strands begin to break. You’ll see them sticking out at odd angles along the cable’s length. A frayed cable is a warning sign, not an immediate emergency, but it will fail soon. The load on the remaining strands increases, accelerating the wear. If you see fraying, schedule a replacement before the cable snaps under load, or browse more guides & resources to learn what to watch for.
Slipped cables
A cable can slip off its drum while still being intact. This happens when the door travels unevenly, often because one spring is weaker than the other or the door was struck by a vehicle. A slipped cable causes the door to hang crooked and jam in the track. If you see the door tilting, stop using it. Every cycle with a slipped cable damages the track and rollers further.
Full cable breaks
A snapped cable makes a whipping sound and the door slams to one side instantly. This is dangerous because the door’s weight is no longer distributed. It puts all the stress on the opposite cable and spring, which can trigger a cascade failure. When a cable breaks, the door should be treated as inoperable until a technician replaces the cable and rebalances the system.
One thing we tell customers in Santa Ana: cable replacement is almost always done in pairs. If one cable has failed, the other has the same number of cycles on it and the same amount of fatigue. Replacing one cable is a temporary patch that guarantees a second service call. Replacing both restores the door to balanced operation.
Opener Runs But Door Doesn’t Move: Drive Gear and Coupler Failures
You press the wall button. You hear the motor humming. The door stays put. This is a different problem from a dead opener. The motor is fine. The mechanical link between the motor and the door has broken. Here’s what that link looks like on each drive type and how it fails.
Belt-drive and chain-drive openers
These systems use a plastic or nylon drive gear inside the opener head. The motor spins a worm gear, which turns the drive gear, which moves the belt or chain. Over years of use, the teeth on that plastic gear wear down until they’re smooth. The motor spins, the gear slips, and the door doesn’t move.
This is a deliberate design choice by manufacturers like LiftMaster and Chamberlain. The gear is sacrificial, designed to fail before the motor burns itself out. Replacement is straightforward for a technician with the right gear kit, but it’s not a job most homeowners should attempt because it requires opening the opener housing and realigning the limit switches.
Screw-drive openers
Genie popularized the screw drive, and it’s a different failure mode. Here, the motor connects to a threaded rod through a coupler, usually made of rubber or plastic. The coupler absorbs shock and can split or crack. When it does, the motor spins freely while the screw stays still. The symptom is identical: motor runs, door doesn’t move. The fix is a coupler replacement, typically under $30 in parts.
Emergency release accidentally engaged
Before assuming a gear failure, check the red emergency release cord. In Santa Ana garages where the cord hangs at shoulder height, people sometimes pull it accidentally while carrying things to the car. If the release is disengaged, you’ll be able to lift the door manually. Pull the cord to re-engage, and the opener will reconnect on its next cycle.
What you should check before calling
- Pull the emergency release cord and try to lift the door manually. If the door is heavy, you have a spring problem, not an opener problem.
- Look at the belt or chain. Is it moving when the motor runs? If it’s moving but the door isn’t, the traveler or the arm connecting the traveler to the door has broken.
- Listen closely. A grinding sound with no movement usually means stripped gears. A humming with no grinding often means the motor capacitor has failed.
- Check the coupler on a screw drive, if you have one. A cracked coupler is visible without opening the unit.
If you’ve confirmed the door is balanced but the opener isn’t transferring power, the repair is usually cost-effective and many parts are available same-day from a technician’s truck. For a deeper breakdown of opener internals, see our Garage Door Opener Repair in Santa Ana page.
How Santa Ana’s Climate Affects Your Garage Door System
Garage doors in Santa Ana live a harder life than doors in most of the country, and the reasons are specific to our geography. Understanding them helps you anticipate problems before they strand a car in the driveway or leave your garage half-open overnight.
Temperature swings and spring fatigue
Santa Ana sees daily temperature swings of 15 to 25 degrees for much of the year. The steel in torsion and extension springs expands and contracts with every cycle, and the internal stress accumulates even when the door isn’t moving. This thermal cycling is a bigger factor in spring failure than the number of open-and-close cycles. A door that opens twice a day in Santa Ana may wear its springs faster than a door that opens four times a day in a climate with steadier temperatures.
Coastal air and corrosion
Salt-laden air from the Pacific reaches Santa Ana on the prevailing breezes, especially in the spring and summer months. It accelerates corrosion on exposed steel components: cables, hinges, roller bearings, and track hardware. A cable that would last the life of a door in Arizona shows pitting and fraying here in three to five years. The same applies to the thin steel in the door panels themselves if the factory paint is ever scratched or chipped.
Sun exposure and sensor performance
Direct sun on a west-facing garage door in the late afternoon heats the panel surfaces past 140 degrees, which causes slight expansion and can make a marginally aligned track bind. The same sun hits the safety sensors and can swamp the infrared beam, producing the intermittent “won’t close” problem that never seems to happen when a technician arrives in the morning.
What this means for maintenance
We recommend a twice-yearly inspection for Santa Ana garage doors, once in late spring before the summer heat sets in and once in late fall after the first Santa Ana wind events. The spring check focuses on sensor alignment, track lubrication, and spring condition. The fall check addresses any wear from the hot months and confirms everything is ready for the cooler, rainier season. It’s genuinely more than most doors need elsewhere, but this is a different climate than most of the country.
If you’re starting to think your door has reached the point where repair no longer makes sense, our Garage Door Installation in Santa Ana page walks through replacement options and what a new system costs.
Common Mistakes to Avoid
These are the errors we see repeatedly on service calls across Santa Ana. Each one costs money, time, or both. Avoiding them puts you ahead of 90% of homeowners who attempt their own repairs.
- Replacing the opener when the springs are shot. If the manual disconnect test shows the door is heavy, a new opener won’t fix it. The new opener will strain against the same dead weight and fail prematurely. We’ve replaced openers for homeowners who already bought one on a neighbor’s recommendation, only to find the door needed springs the whole time.
- Lubricating with WD-40. WD-40 is a solvent and rust remover, not a lubricant for garage door components. It cleans and then evaporates, leaving less protection than before. Use a white lithium grease on hinges and rollers or a dedicated garage door lubricant on the track, springs, and opener chain.
- Forcing the door when it’s binding. If the door catches or jerks, continuing to press the opener button makes the problem worse. The opener’s force limit will fight the bind, and that stress transfers to the track, rollers, and panel joints. Every forced cycle compounds the damage.
- Adjusting spring tension without the right tools. Winding bars on a torsion spring are not the same thing as screwdrivers or pry bars. Improper tools slip under load, and the spring unloads with lethal force. This is the single most dangerous DIY repair anyone attempts on a home.
- Ignoring a frayed cable. Cables warn you. The stray strands poking out of the cable body are the equivalent of a tire showing its cords. The failure is coming, and when it happens, the door drops unevenly and often damages the track. A $90 cable replacement now is far cheaper than a cable, track, and panel repair later.
- Skipping the sensor check when the door won’t close. Many “broken” openers are actually working perfectly. The sensor circuit is doing its job by refusing to close an obstructed path. Before assuming an opener failure, run the four-point sensor check. It costs nothing and resolves a significant share of no-close calls.
When to Call a Professional
Some repairs are genuinely DIY territory: sensor cleaning, remote battery replacement, limit adjustments, lubrication. Others carry injury risk or require specialized tools and experience. Spring replacement of any kind should always be handled by a trained technician. Torsion springs hold enough stored energy to cause severe injury, and the winding bars and technique required are not something to learn from a YouTube video. Cable replacement is nearly as dangerous because the cable works under spring tension. Track realignment, panel replacement, and opener gear replacement also benefit from professional attention because the tolerance for error is tight and mistakes amplify quickly. Santa Ana Garage Door Service offers free estimates in Santa Ana. Call (855) 341-7810 and we’ll diagnose the problem over the phone, tell you what it likely is, and give you a price before we ever step foot in the garage.
Frequently Asked Questions
Garage door repair in Santa Ana typically runs between $85 and $450 depending on the component. Sensor realignment or limit adjustment costs $85 to $125. Cable replacement runs $150 to $250 per pair. Spring replacement runs $200 to $400 depending on whether you have one spring or two and whether they’re torsion or extension. Opener gear replacement typically runs $180 to $280. Every repair is quoted and agreed before we start work, so the number you approve is the number you pay. Call (855) 341-7810 for an exact quote.
The safety sensors are misaligned, dirty, or being hit by direct sunlight, and the opener is reversing because it thinks something is in the door’s path. Clean the lenses with a dry cloth, check the alignment, and shade the receiving sensor if the problem happens in the afternoon. If the problem persists after the four-point check, the force settings or logic board may need attention.
If the door panels are structurally sound and the damage is limited to a spring, cable, roller, or opener component, repairing makes sense. If the door is 20 or more years old, the panels show rust or warping, and the hardware needs multiple components replaced at once, a full replacement often costs less per year of remaining service life. We’ll give you both options with honest pricing either way.
Yes, a grinding noise from a LiftMaster opener usually means the drive gear’s teeth have stripped. The motor is fine, but the sacrificial gear that transfers power to the belt or chain has worn smooth. Replacement takes about an hour with the correct gear kit and is far cheaper than replacing the whole opener.
A door that opens a few inches and stops is almost always a spring problem. The opener senses excessive resistance and shuts down. Carry out the manual disconnect test: if the door feels heavy when you lift it by hand, the springs have lost tension and need replacement. Continuing to use the opener will burn out the motor and turn a $300 spring repair into a $600 combined repair.
No. Even though the opener may still move the door, it’s fighting dead weight and putting extreme stress on the remaining spring, cables, opener gear, and the door frame itself. The remaining components are now load-bearing beyond their design limits. We recommend disconnecting the opener and leaving the door closed until a technician can replace both springs. The springs should always be replaced in pairs because they fatigue at the same rate.
The Bottom Line
Troubleshooting a garage door comes down to listening to what the system is telling you. The symptom points to the component. The manual disconnect test tells you which half of the system is at fault. The blink code gives you the opener’s own diagnosis. The sensor check clears the most common false alarms. And knowing when a spring is dangerous keeps you out of the hospital. Whatever brand is on your door, the diagnostic logic is the same. The difference is whether you have the right tools, parts, and experience to fix what you’ve found. When you don’t, the call is simple.
From a snapped spring to a smart opener upgrade, it’s all one call. We fix what you have, we don’t sell you what you don’t need. Reach us at (855) 341-7810 or visit the Santa Ana Garage Door Service home page for more on how we work.
Written by the team at Santa Ana Garage Door Service, serving Santa Ana since 2011.
See the difference
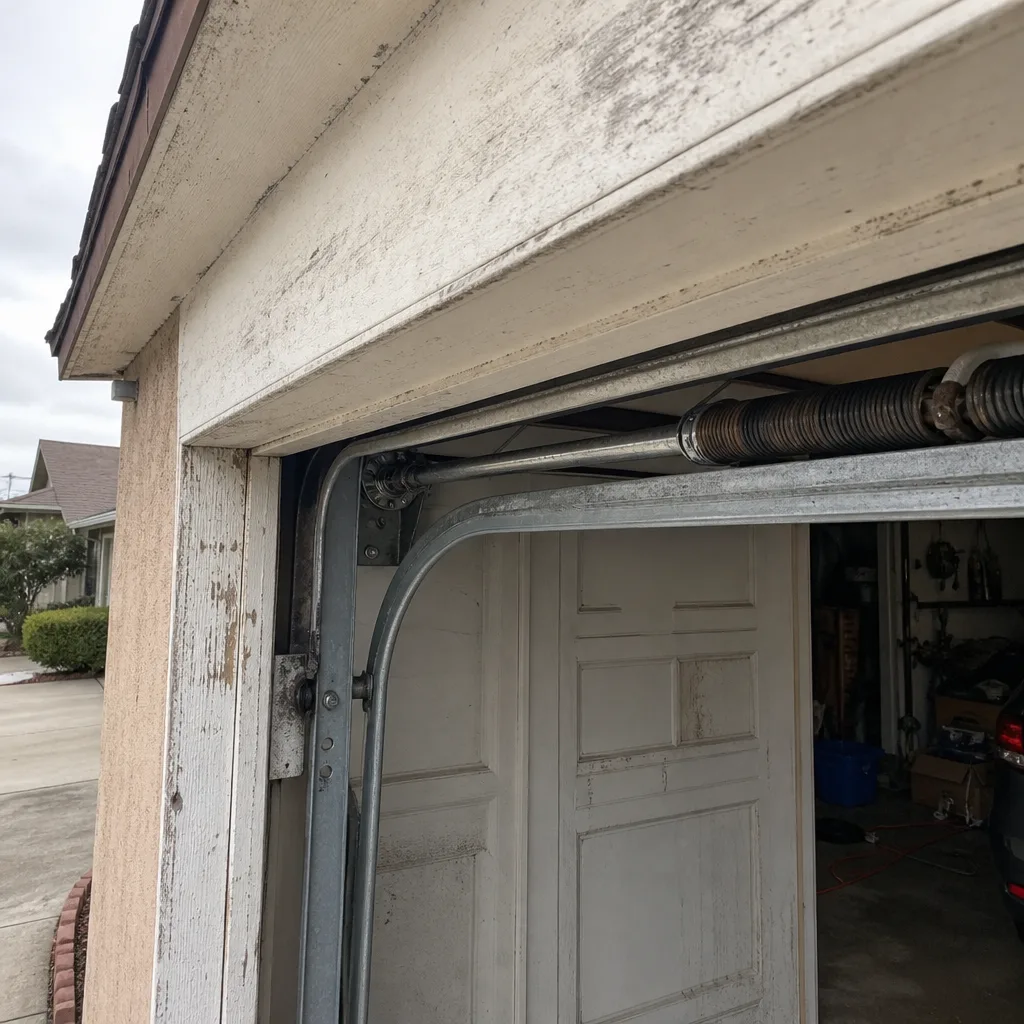 Before
 After
 Before
 After
 Before
 After